
Last updated October 16, 2026
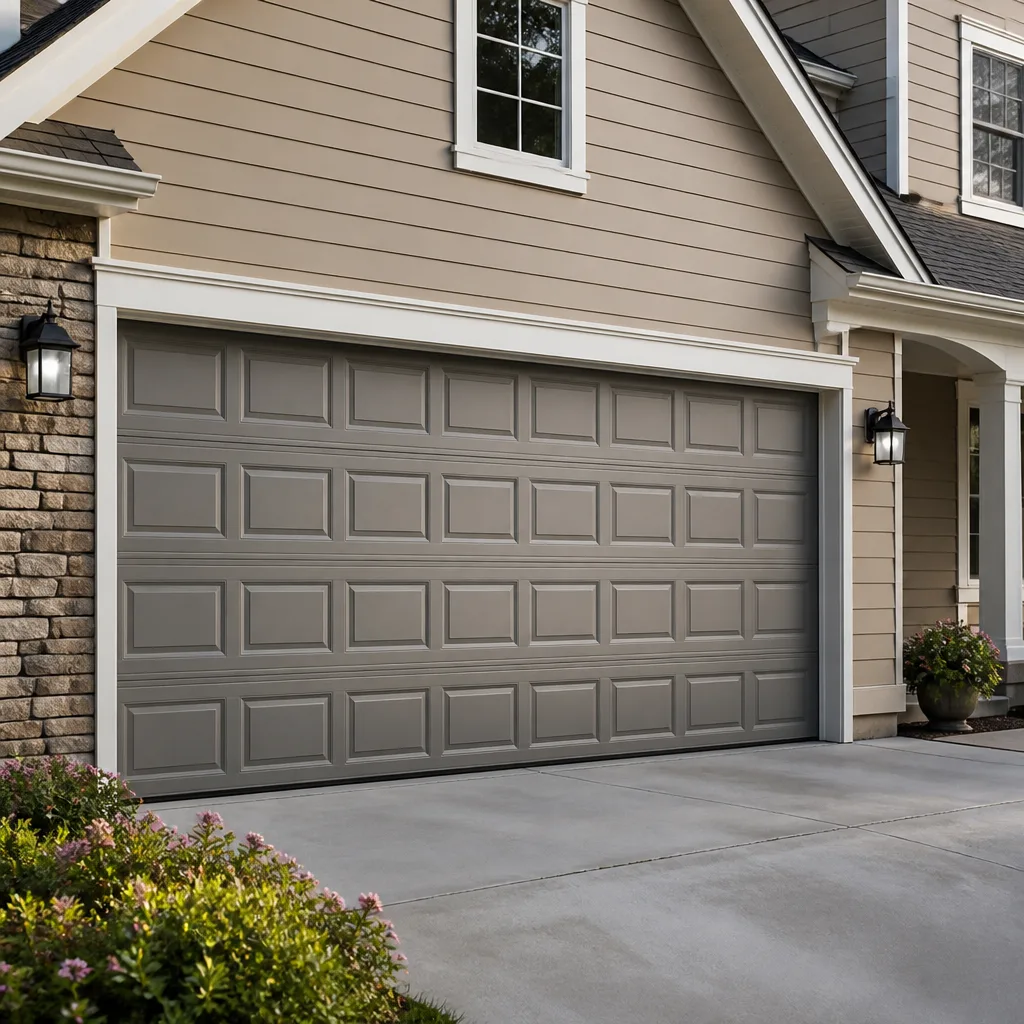 Raised-panel steel
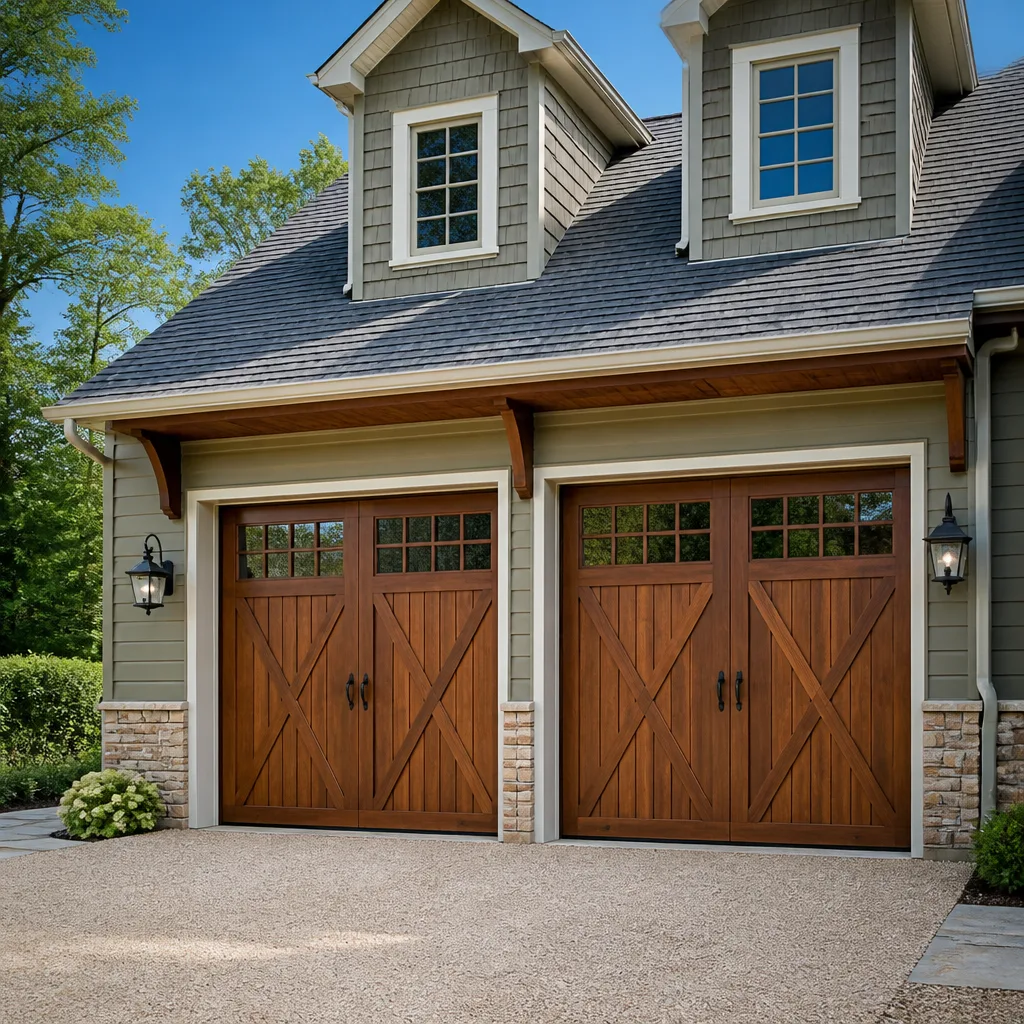 Carriage house
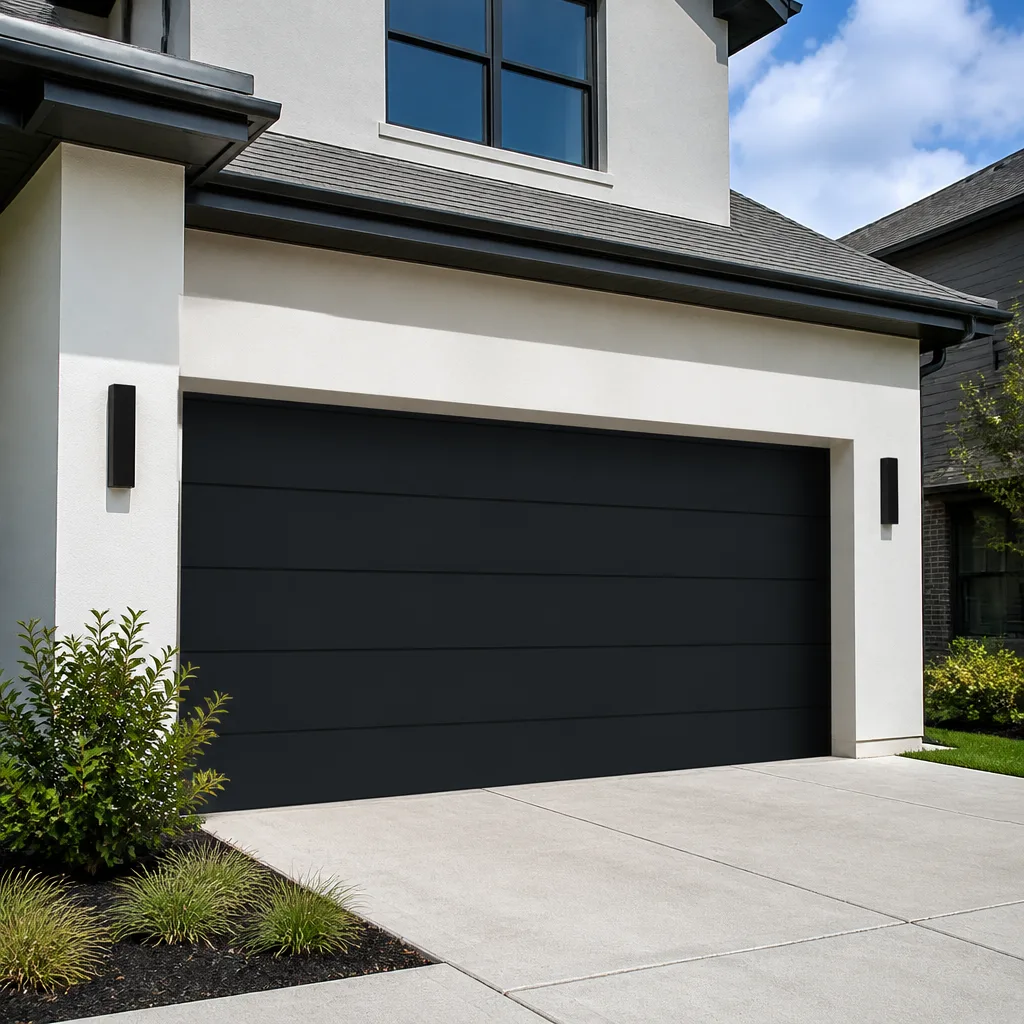 Modern flush
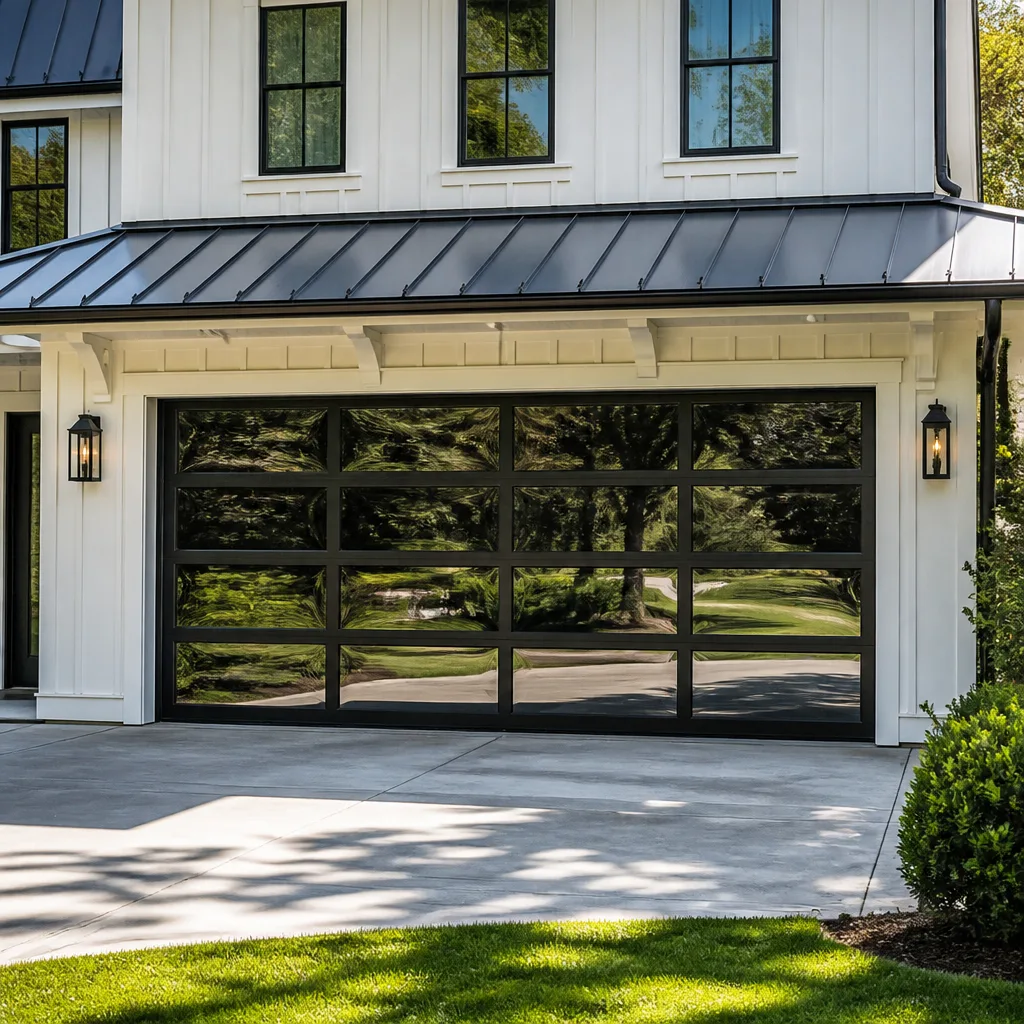 Full-view glass
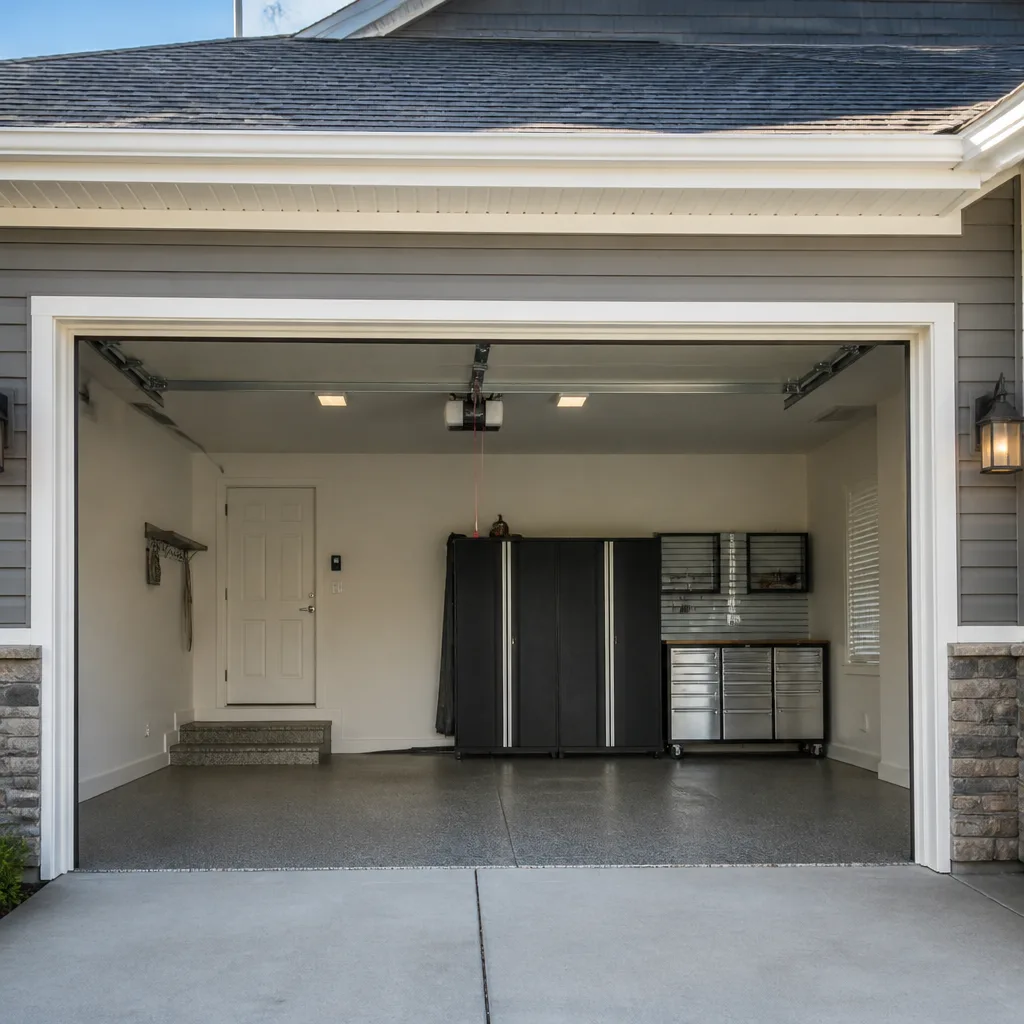 LiftMaster openers
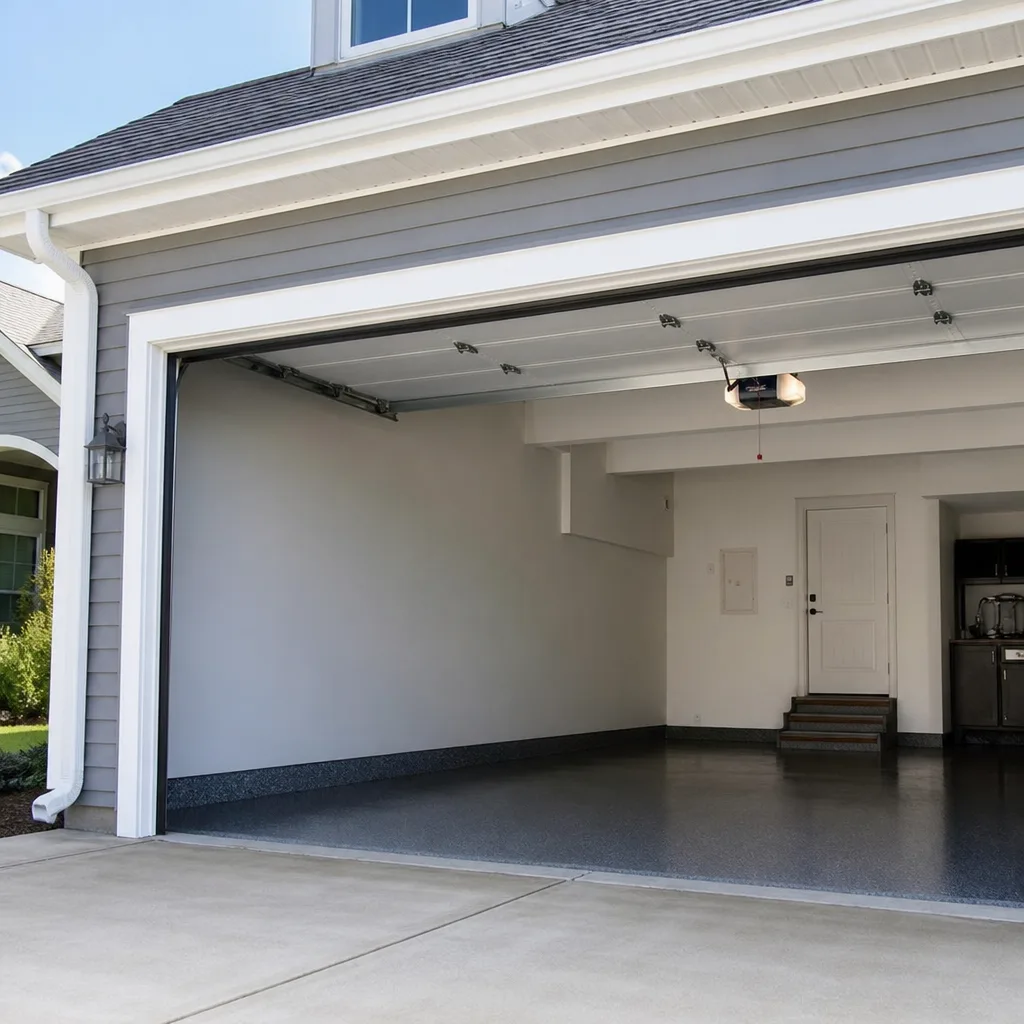 Chamberlain openers
Full 25-point door and opener safety check with every visit - springs, cables, rollers, tracks, and your LiftMaster or Chamberlain opener included
You get a price before we start. It does not change when the truck arrives.
Get your free estimateGarage Door Repair Maintenance Checklist for San Diego Homeowners
A garage door that opens twice a day – once out, once back – completes roughly 700 cycles a year. Most torsion springs are rated for 10,000 cycles. Do the math on a home built in 1995 and you’ll find a spring that passed its rated life years ago, whether it has snapped yet or not. That’s the problem with seasonal maintenance checklists in San Diego: we don’t have the freeze-thaw cycles or the autumn leaf drop that tell homeowners elsewhere when to service a door. The ocean air, the coastal fog, and the daily grind of use all operate on their own schedule. This guide reframes garage door maintenance around cycles – actual door movements – rather than calendar months, so you’ll know exactly what to check, when to check it, and what to leave alone.
Quick Answer
A garage door maintenance checklist for San Diego homeowners should be built around usage cycles, not seasons: lubricate hinges and rollers every 500 cycles (roughly every 7 months of typical use), inspect cables and brackets every 2,000 cycles (about every 3 years), and schedule a full spring and opener assessment every 8,000 cycles (about every 10 to 12 years). Coastal homes within three miles of the ocean should add a monthly salt-air corrosion check on the bottom brackets, cable drums, and torsion tube. Most homeowners can handle lubrication and visual checks themselves, but torsion spring tension is dangerous and should always be left to our Garage Door Repair services, not treated as a DIY task.
Styles & brands we work with
Table of Contents
- Why Cycles, Not Seasons, Drive Garage Door Maintenance in San Diego
- The 500-Cycle Lubrication Routine (About Every 7 Months)
- The 2,000-Cycle Cable and Bracket Inspection (About Every 3 Years)
- The 8,000-Cycle Spring and Opener Assessment (About Every 10 – 12 Years)
- Coastal Corrosion: What Salt Air Attacks First and What to Look For
- Testing the Auto-Reverse Safety Mechanism (The 2×4 Test)
- The One Adjustment You Never Make Yourself: Torsion Spring Tension
- Common Mistakes to Avoid
- When to Call a Professional
- Frequently Asked Questions
- The Bottom Line
Why Cycles, Not Seasons, Drive Garage Door Maintenance in San Diego
San Diego’s climate is the reason most national maintenance advice falls flat here. A homeowner in Minneapolis needs to prep a garage door for sub-zero temperatures and ice. A homeowner in Phoenix contends with extreme heat breaking down plastic components. San Diego gets neither. What we get is relentlessly consistent use – garage doors here operate year-round, often multiple times a day, because the weather never forces us to park outside or stop using the space. A door in Chula Vista or Rancho Bernardo sees the same workload in January as it does in July.
That consistency is why cycle counts matter more than calendar intervals. Every opening and closing of a garage door is a cycle. A spring rated for 10,000 cycles will last about 14 years at 700 cycles a year. A spring rated for 5,000 cycles – common on budget installations from big-box stores – lasts about 7 years at the same usage rate. The failure point has nothing to do with the month on the calendar and everything to do with how many times that heavy door has traveled up and down its tracks. Lubrication breaks down from friction, not from time passing. Cables fray from repeated bending around a drum, not because it’s been 90 days. Shifting your thinking from “what month is it?” to “how many times has this door moved?” is the single most useful maintenance mindset a San Diego homeowner can adopt.
We’ve also seen how San Diego neighborhoods complicate the picture. Homes in Point Loma, Ocean Beach, and Coronado face salt air that accelerates corrosion on metal components regardless of usage. Homes in inland communities like Santee or El Cajon may have older doors that predate modern safety standards. A cycle-based schedule handles both situations: inland homeowners track usage, coastal homeowners add a corrosion check on top of the cycle intervals.
Here’s the simple way to estimate your door’s cycle count without installing any equipment:
- Estimate daily cycles. Most homeowners average 2 to 4 cycles per day. If you park in the garage and leave once a day, that’s 2 cycles (out, in). Add a second car or a daytime errand run and you’re at 4.
- Multiply by 365. At 2 cycles a day, you’re looking at roughly 700 cycles a year. At 4 cycles a day, roughly 1,400.
- Check your spring’s wire thickness and inner diameter against manufacturer specs. Thinner wire and smaller diameter generally indicate a lower cycle rating – often 5,000 cycles on builder-grade doors.
- Divide the rated cycles by your annual estimate. That’s your spring’s expected lifespan in years, and your cue for when to schedule a professional assessment before a failure happens.
This is the approach we use at Bramwell Garage Doors San Diego when homeowners ask when to service a door. It gives an honest answer instead of an invented deadline.
The 500-Cycle Lubrication Routine (About Every 7 Months)
At 500 cycles, friction has started to do measurable work on your door’s moving parts. Hinges that squeak, rollers that grind, and a door that shudders on its way up are all signs that lubrication has thinned out. For a typical San Diego household at 2 to 3 cycles a day, 500 cycles lands every 5 to 8 months – call it twice a year. Not because the calendar says so, but because the door has actually earned its service.
The lubrication points are specific, and the product matters more than most homeowners realize:
- Hinges: White lithium grease on each hinge pivot point. This is the grease that stays put rather than dripping, and it’s formulated to handle the slow, heavy movement of door panels. Apply a thin bead to the joint where the hinge bends, then wipe away any excess that squeezes out.
- Rollers: For steel rollers with metal bearings, white lithium grease on the bearing surface. For nylon rollers, silicone spray on the stem only – nylon wheels ride on the track without lubricant. If your rollers have sealed bearings, they don’t need lubrication at all; just check that they spin freely.
- Weather seals: Silicone spray on the rubber strip along the bottom edge and the vinyl weather stripping along the sides. This keeps the rubber supple and prevents the cracking that lets dust and moisture into the garage. Silicone is the right product here because it won’t degrade rubber the way petroleum-based sprays do.
- Tracks: Nothing. Metal tracks should stay dry. Lubricating garage door tracks attracts dust, which creates a grinding paste that actually accelerates wear on rollers. If the track looks dirty, wipe it down with a dry rag, but don’t spray anything on it.
And here’s the point we make on every visit: WD-40 is not a garage door lubricant. It’s a water-displacing solvent, which is exactly what the “WD” stands for. It will temporarily quiet a squeak by flushing out debris, but it leaves behind almost no lasting lubrication. Within weeks the metal is dry again, and you’ve added a solvent to areas where grease should be. If you already sprayed WD-40 on hinges or rollers, clean the area with a rag and reapply white lithium grease. Your door will thank you.
The lubrication routine takes about 20 minutes with a step stool and a rag. No special tools. No reason to call a professional for this one, though we’re glad to handle it as part of any service visit in San Diego.
The 2,000-Cycle Cable and Bracket Inspection (About Every 3 Years)
At 2,000 cycles, the components that hold your door under tension have been through enough stress that visible wear starts showing up. Cables, bottom brackets, and the cable drum at the top of the torsion tube are the parts that take the brunt of every cycle, and they give warning signs before they fail – if you know where to look. A typical San Diego household hits 2,000 cycles in roughly 2 to 3 years.
Here’s what to inspect, in order:
- Lift cables: These are the steel cables that run from the bottom corners of the door up to the cable drum mounted on the torsion tube. Look for individual wire strands that have broken and are poking out from the cable – this is called “fraying,” and it’s the earliest sign that a cable is nearing failure. Also look for rust discoloration, especially near the bottom bracket where moisture collects.
- Bottom brackets: These are the L-shaped metal brackets that connect the lift cable to the bottom panel. They carry the entire weight of the door whenever it moves. Look for cracks in the metal, elongated holes where the bolts attach, or rust that has pitted the surface. A cracked bottom bracket can release the cable without warning, which is a catastrophic failure that sends the door crashing down.
- Cable drum: The grooved spool at the top of the torsion tube that the cable wraps around. Look for a groove that’s been worn wider by the cable, or any sign that the cable is no longer seating evenly in the groove. Both indicate that the cable is under uneven tension, which adds stress to every other component in the system.
- Track alignment: Stand inside the garage and look down the vertical track. It should be straight and vertical, with no visible bends, gaps, or sections where the track has pulled away from the wall. A misaligned track makes the rollers skate and grind, and it accelerates wear on both the rollers and the track itself.
This inspection takes 15 minutes and needs only a flashlight. You’re not adjusting anything – just looking. If you spot frayed cables, cracked brackets, or uneven track wear, that’s the signal to schedule a professional Garage Door Repair in San Diego before the worn component fails on its own schedule, which is never at a convenient time.
The 8,000-Cycle Spring and Opener Assessment (About Every 10 – 12 Years)
At 8,000 cycles, an honest assessment stops being optional. Your torsion spring – the heavy coil mounted above the door that handles most of the lifting weight – is nearing the end of its rated life even if it has been properly maintained. Your opener’s motor, gear, and travel limits have also accumulated enough runtime that adjustments and part replacements start becoming likely. For a San Diego homeowner at 700 cycles a year, 8,000 cycles means roughly 10 to 12 years of service.
The full assessment covers three areas:
Torsion Spring Condition
Look at the spring with the door closed. You’re checking for two things: a visible gap in the coil (the spring has snapped – though you’ll usually hear it when that happens, a loud bang from the garage), and surface rust that has begun pitting the metal. Light surface discoloration is cosmetic. Deep rust that flakes off when you brush it with a wire brush is structural, and it’s a strong indicator that the spring is weakening. Most torsion springs in San Diego homes are rated for either 10,000 cycles (upgraded springs) or 5,000 cycles (builder-grade springs). If your home was built more than 10 years ago and the spring has never been replaced, it’s statistically more likely to be a 5,000-cycle spring already past its rated life.
Opener Internal Components
Disconnect the opener from the door using the emergency release cord – the red handle hanging from the trolley – and lift the door manually. It should move smoothly with minimal resistance. A door that’s heavy or hard to lift manually means the spring isn’t doing its job and the opener is working harder than it should. Reconnect the opener, then run the door through a full open-close cycle while listening. Grinding sounds from the motor unit often indicate a worn gear, especially on Chamberlain and Genie openers that use a plastic drive gear. A door that reverses direction on its own mid-cycle usually points to a failing RPM sensor or a motor approaching burnout.
Travel Limit and Force Settings
Run the door down and confirm it seats fully against the floor without bouncing back up. Run it up and confirm it stops cleanly at full open without jerking. If the door doesn’t fully close, or if it closes and then reverses, the travel limit needs adjustment. This adjustment is simple on most openers – a pair of dials or buttons on the back of the motor unit – but it’s tied to force settings, and over-correcting the travel limit without adjusting force can create a dangerous situation where the door presses down too hard. If you’re unsure, this is a quick adjustment for a professional.
Coastal Corrosion: What Salt Air Attacks First and What to Look For
San Diego’s coastal neighborhoods – Point Loma, Ocean Beach, Pacific Beach, La Jolla, Coronado, Imperial Beach – all deal with salt air that inland communities don’t. Salt accelerates corrosion on every metal component in a garage door system, and it attacks in a predictable order. Knowing that order helps coastal homeowners spot problems before a component fails.
The three components salt air attacks first:
- Bottom brackets: These sit closest to the ground, which means they collect the salt-laden moisture that blows under the door and the condensation that forms during coastal fog events. Early corrosion looks like a fine white or gray powder on the metal surface – this is aluminum oxide forming, and it’s still cosmetic. Pitting, where the surface develops small craters, is the stage where the bracket has lost structural strength. A pitted bottom bracket should be replaced before it releases the cable.
- Cable drums: The grooved spool at the top of the torsion tube sits in the path of salt air that enters through the top of the door opening. Watch for rust forming inside the grooves, which causes the cable to seat unevenly and adds friction to every cycle. A cable that’s riding unevenly on a rusted drum is a cable that’s wearing faster than it should.
- Torsion tube: The long metal shaft that the spring and drums mount to. Corrosion here is less common than on the brackets and drums, but it’s more serious when it happens because the tube is under constant torque. Look for rust at the ends of the tube where it passes through the bearing plates. Surface rust on the center of the tube is cosmetic; rust at the bearing points is a failure risk.
The distinction between surface discoloration and early structural rust matters. Surface discoloration is uniform, smooth, and wipes off with a dry cloth. Early structural rust is rough to the touch, pits the metal, and doesn’t wipe away. If you’re within three miles of the ocean in San Diego, add a monthly visual check of the bottom brackets to your routine. It takes 30 seconds, and it catches salt damage before a bracket fails.
Testing the Auto-Reverse Safety Mechanism (The 2×4 Test)
The auto-reverse function on your garage door opener – the safety mechanism that stops a closing door from crushing an object in its path – is required by federal law on every opener sold since 1993. Yet in our experience across San Diego, a large share of homeowners have never tested it once. It’s not that the mechanism is unreliable; it’s that it degrades silently. Force settings drift over time, and a door that reverses properly today can start pressing down too hard six months from now without any visible symptom.
The test itself is simple and takes two minutes:
- Place a 2×4 board flat on the floor directly under the center of the door, perpendicular to the door’s path.
- Close the door using the wall button or remote. Watch what happens when the door contacts the 2×4.
- Verify the door reverses within two seconds of contacting the board. The door should immediately travel back up to the full open position, not just stop.
- Test the photo-eye sensors separately. With the door open, wave an object through the sensor beam near the floor. The door should refuse to close while the beam is broken.
- Run this test once a month. A 2×4 lives in most San Diego garages already, so the monthly step takes less time than checking your smoke detector.
If the door fails either test – if it doesn’t reverse on contact with the board, or if it closes through a broken photo-eye beam – stop using the opener and call a professional. This is a code-required safety function, and running a door without working auto-reverse is a genuine hazard, especially in homes with children or pets.
Sensor misalignment is the most common culprit for a failed photo-eye test, and it’s often visible: the small indicator lights on the sensors should be steady. A blinking light usually means the beam is misaligned – a sensor knocked loose by a bike, a ladder, or a trash can. Realigning sensors is straightforward (loosen the wing nut, aim the sensor at the opposite one, watch for the light to turn steady). But if realignment doesn’t fix it, or if the door fails the 2×4 test, the issue is in the force settings or the sensor wiring, and that’s a professional call.
The One Adjustment You Never Make Yourself: Torsion Spring Tension
Every maintenance guide needs a bright red line, and for garage doors it’s this: never adjust torsion spring tension yourself. The torsion spring – the heavy coil mounted above the door – is wound under enough torque to lift a 150 to 400 pound door. That torque is stored in the spring at all times, even when the door is closed. The winding bars used to adjust that tension are effectively levers loaded with hundreds of pounds of rotational force. If one slips, it moves violently, and anything in its path – hands, face, arms – takes the full force.
This is not DIY-adjacent. It’s the one task in garage door maintenance where the consequences of a split-second error are catastrophic and permanent. In San Diego, every professional door technician knows someone in the trade who has the scars from an early-career mistake with a winding bar. No maintenance checklist should ever include torsion spring adjustment as a homeowner task, and any guide that does is putting its readers at risk.
The warning signs that a spring is nearing failure, without ever touching the spring itself:
- Visible gap in the coil – the spring has already snapped, or is in the process of separating. You’ll see a clean break in the continuous coil, usually about a quarter-inch wide.
- Door feels noticeably heavier when you disconnect the opener and lift it manually. A properly balanced door feels almost weightless; a door that takes real muscle to lift is telling you the spring has lost tension.
- Loud bang from the garage – springs usually announce their failure. If you heard a noise like a firecracker or a dropped barbell and the door won’t open, the spring is done.
- Door opens a few inches, then stops – the opener is trying to lift the full weight of the door without a working spring, and its safety sensors are tripping.
If you see any of these signs, stop using the door and call a professional. Most Garage Door Spring Repair in San Diego jobs are same-day calls, and replacement springs are stocked on service trucks for exactly this reason. The repair itself is straightforward for a trained technician with the right tools – but the tension involved is not something to learn on a YouTube video.
When to Replace vs. When to Repair: San Diego Homeowner’s Guide
At some point every San Diego homeowner faces the decision: put money into another repair, or replace the door entirely. For guidance on choosing the right professional, see How to Hire a Garage Door Contractor in San Diego: A Step-by-Step Guide. The right answer depends on three factors, and none of them should be a sales pitch.
The Door’s Age and Structural Condition
Steel doors in San Diego’s climate typically last 20 to 30 years before panel rust and track fatigue accumulate. Wood doors last as long as the paint does – which is shorter in coastal neighborhoods where salt air strips finish. If the panels are dented, rusted through, or delaminating, you’re looking at panel replacement costs that often approach half the price of a complete new door. A quick benchmark: if two or more panels need replacement, and the door is over 15 years old, replacement usually beats patching.
The Opener’s Compatibility
Older openers – anything predating the 1993 safety-sensor mandate, or older chain-drive units that predate more recent smart-home integration standards – often can’t support modern safety accessories or battery backup. A new Clopay or Amarr door can work with an older opener, but if the opener is over 15 years old, pairing it with a new door means bolting a tired motor to a fresh system. A Garage Door Installation in San Diego that replaces door and opener together often costs less than doing them separately, because labor overlaps.
What “Worn Out” Actually Looks Like
Here’s the honest checklist of items we run through on a service call when a homeowner asks whether to fix or replace:
- Springs expired: One replacement spring for a standard 16×7 door runs roughly $150 to $280, parts and labor included. This is routine maintenance, not a reason to replace the door.
- Cables frayed: A single cable replacement is a $75 to $150 job. Fine as a repair.
- Panels dented or rusted through: Individual panel replacement starts around $250 to $450 per panel depending on the door brand and finish. Two or more panels, or panels on an older wood door, and replacement starts to make more sense.
- Opener motor failing: A quality belt-drive opener from Chamberlain or Genie, installed, runs $350 to $550. If the door itself is sound, just replace the opener.
- Track system bent or rusted: If the track itself is failing – not just misaligned – the entire system is compromised. This is replacement territory.
Common Mistakes to Avoid
- Lubricating the tracks. Greasy tracks collect dirt, which grinds the rollers down faster and can cause the door to bind. Tracks should be wiped clean and left dry. This is the single most common mistake we see in San Diego garages.
- Using WD-40 as a lubricant. WD-40 is a solvent and water displacer, not a lasting lubricant. It strips existing grease and leaves metal dry within weeks. Use white lithium grease on hinges and silicone spray on weather seals instead.
- Ignoring a slow-moving door. A door that opens or closes slower than it used to is almost always a sign of a failing spring or a struggling opener motor. It’s not an annoyance; it’s a warning light, and ignoring it means paying for a more expensive failure later.
- Never testing the auto-reverse safety mechanism. The 2×4 test takes two minutes and is the only way to know if your door will actually stop on contact. We’ve tested doors in San Diego that failed, and the homeowners had no idea because the door had never hit anything. Not knowing doesn’t make it safe.
- Patching a rotted bottom panel without checking the rest. Salt air and moisture damage doesn’t stay isolated. If the bottom panel is rusted or rotting, the bottom bracket and cable attached to it have been exposed to the same conditions. Check the hardware, not just the panel.
- Tightening loose bolts without a torque spec. Most garage door hardware bolts have specific torque requirements, especially track brackets and hinge plates. Over-tightening deforms the track; under-tightening leaves it wobbling. Either one creates uneven wear.
- Scheduling by the calendar rather than by cycles. “Twice a year” works fine for a seasonal climate, but San Diego doors run consistently year-round. A 500-cycle lubrication interval means checking every 5 months at 3 cycles a day, or every 8 months at 2 cycles a day. Track your usage, not the page on the wall calendar.
When to Call a Professional
A fractured torsion spring, a frayed lift cable, a door that won’t reverse on contact – these are not the moments to reach for tools. They’re the moments to reach for the phone. The same goes for any adjustment involving spring tension, which should never be attempted without proper winding bars, the right training, and a full understanding of the stored energy involved. We answer calls at Bramwell Garage Doors San Diego with a live person, 24 hours a day, because when a spring snaps at 7:00 a.m. with your car trapped inside, you don’t want a voicemail tree.
Bramwell Garage Doors San Diego offers free estimates in San Diego – call (619) 374-2463. Every visit comes with a written price before any work begins, so the number you hear is the number on the invoice. And if a covered repair fails within a year, the 365-Day Done Right Promise means we come back and fix it at no charge. That commitment is in writing, not just spoken at the door.
Frequently Asked Questions
A professional lubrication and inspection visit in San Diego typically runs $75 to $150, depending on the door’s condition and whether any minor adjustments are needed. Most major repairs – spring replacement, cable replacement, opener gear replacement – run $150 to $350 per repair, parts and labor included. Call (619) 374-2463 for an exact quote – estimates are free, and the price is written before any work starts.
Every 500 cycles, which for most San Diego households works out to every 5 to 8 months. A household at 2 cycles a day hits 500 cycles in about 8 months; a household at 4 cycles a day hits it in about 4 months. The key is consistency – regular light lubrication beats annual heavy application.
White lithium grease on metal hinges and roller bearings. Silicone spray on rubber weather seals and nylon roller stems. Nothing on the tracks – wipe them clean and leave them dry. And never WD-40, which strips existing lubrication and leaves metal dry.
No. Torsion springs are wound under hundreds of pounds of torque, and a winding bar that slips moves with enough force to cause serious injury. This is the one garage door task that should never be DIYed, regardless of what any video tutorial shows. Professional spring replacement in San Diego is a quick, common job for a trained technician.
It depends on the spring’s cycle rating and how often the door is used. A 10,000-cycle spring at 700 cycles a year lasts about 14 years. A 5,000-cycle builder-grade spring at the same usage lasts about 7 years. Most homes in San Diego built before 2010 have springs that are past or approaching their rated life, whether they’ve failed yet or not.
Place a 2×4 board flat under the center of the door, close the door, and verify that it reverses within two seconds of contact. Then break the photo-eye beam with an object and verify the door won’t close. Run this test monthly – it takes two minutes and confirms the door will actually stop if a child, pet, or object is in its path. Call (619) 374-2463 if the door fails either test.
The Bottom Line
San Diego’s garage doors don’t get a winter off. They work steadily through fog, salt air, and hundreds of cycles a year, and a maintenance checklist that respects that reality is the one that actually gets used. Lubricate every 500 cycles. Inspect cables and brackets every 2,000. Get a full spring and opener assessment every 8,000. Add a monthly corrosion check if you’re within three miles of the coast. And never touch torsion spring tension yourself – that’s a hard line, not a suggestion. For more guides & resources, explore our blog. If you’re not sure where your door stands, start with an honest assessment. Bramwell Garage Doors San Diego serves San Diego homeowners with free estimates and a written price before any work starts. Call (619) 374-2463 to schedule yours.
Written by Marcus Ellery, Owner at Bramwell Garage Doors San Diego, serving San Diego since 2001.
See the difference
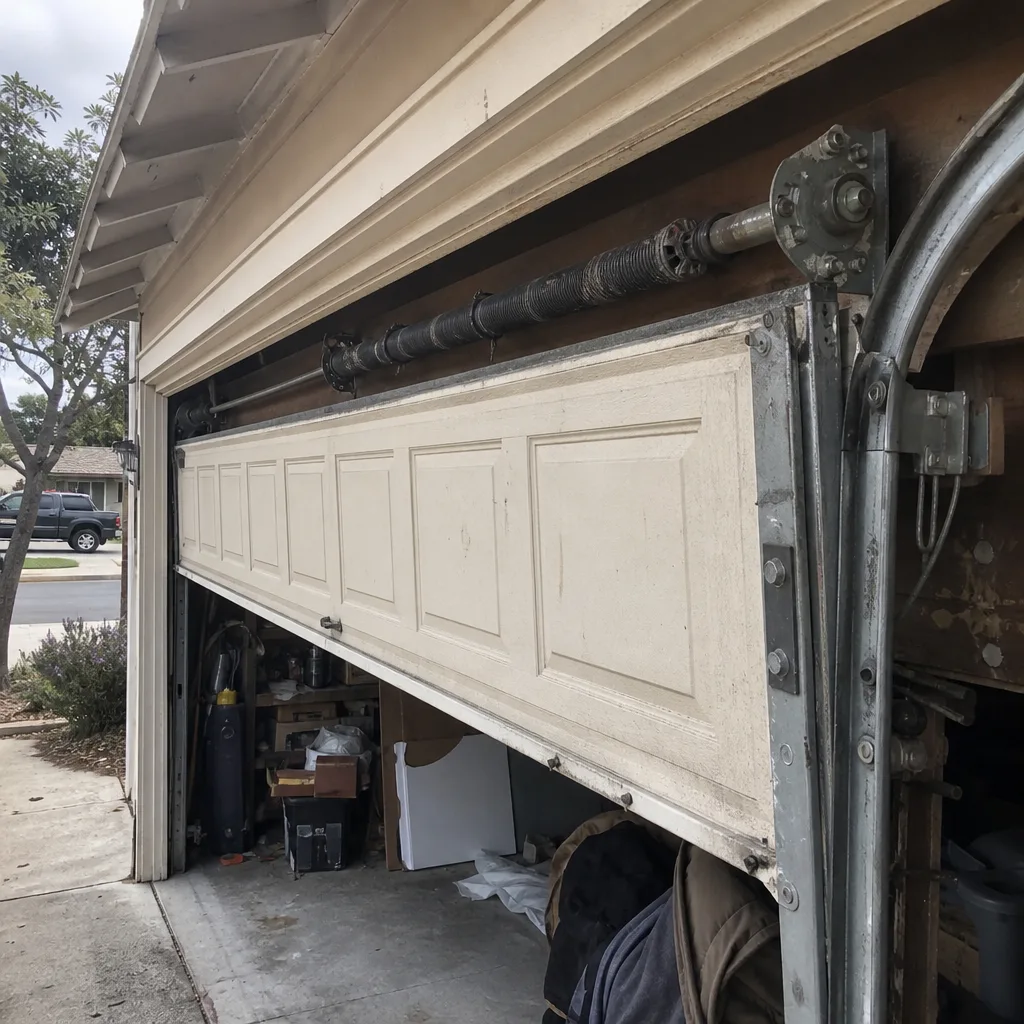 Before
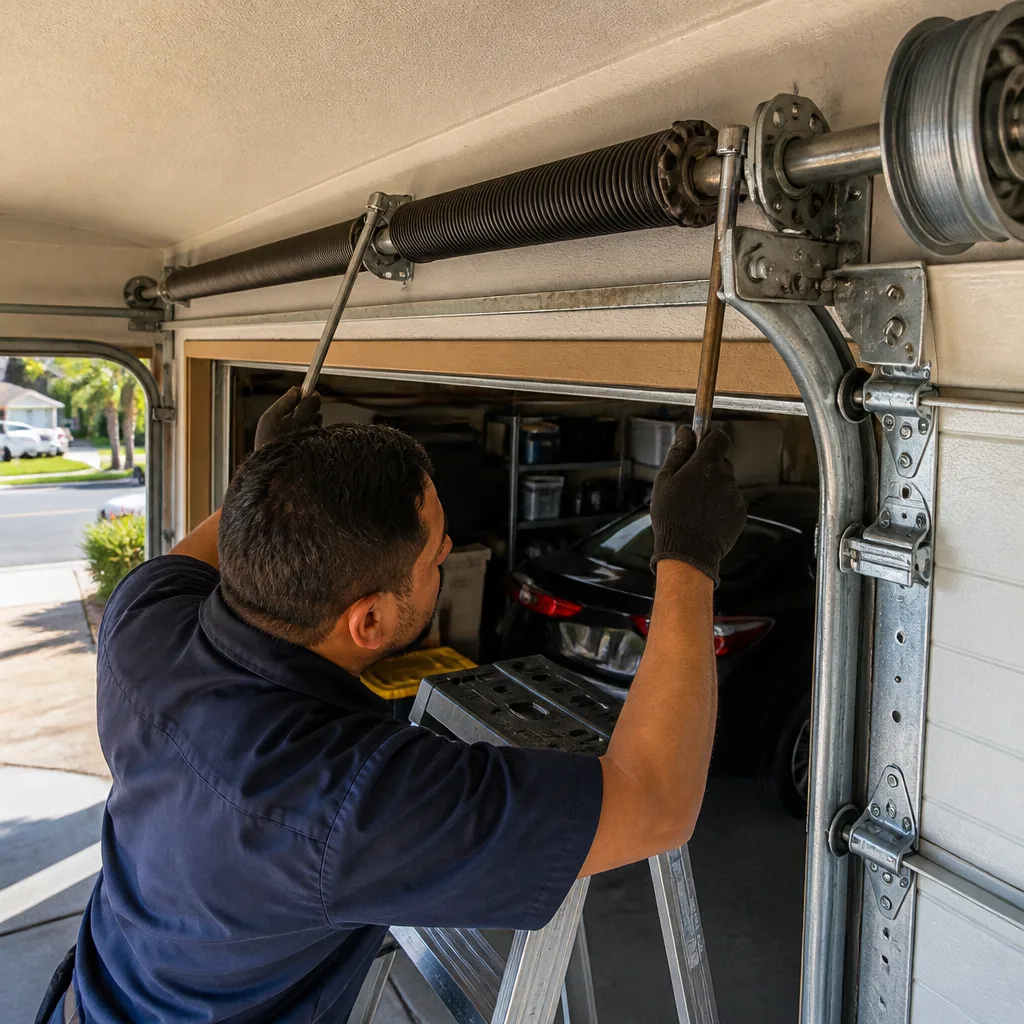 After
After Before
 After
After Before
 After
After