
Last updated October 16, 2026
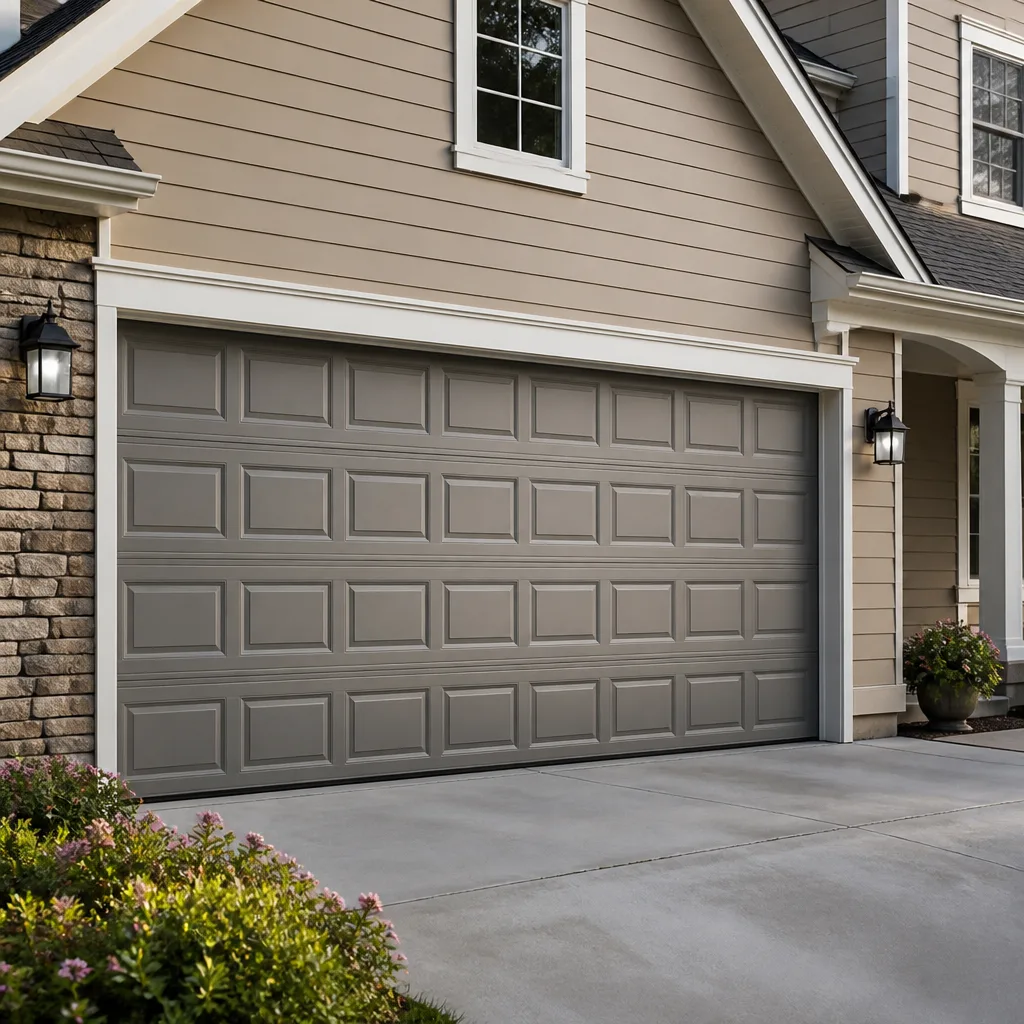 Raised-panel steel
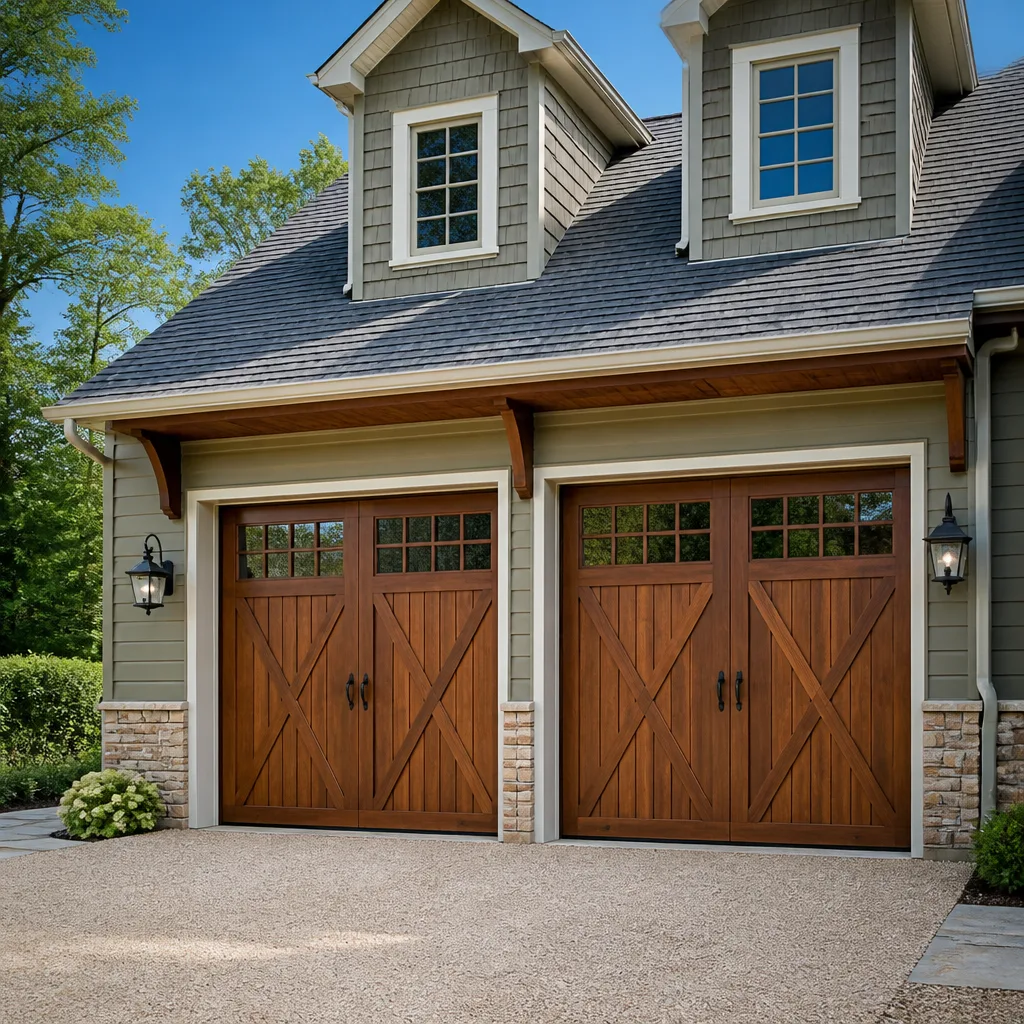 Carriage house
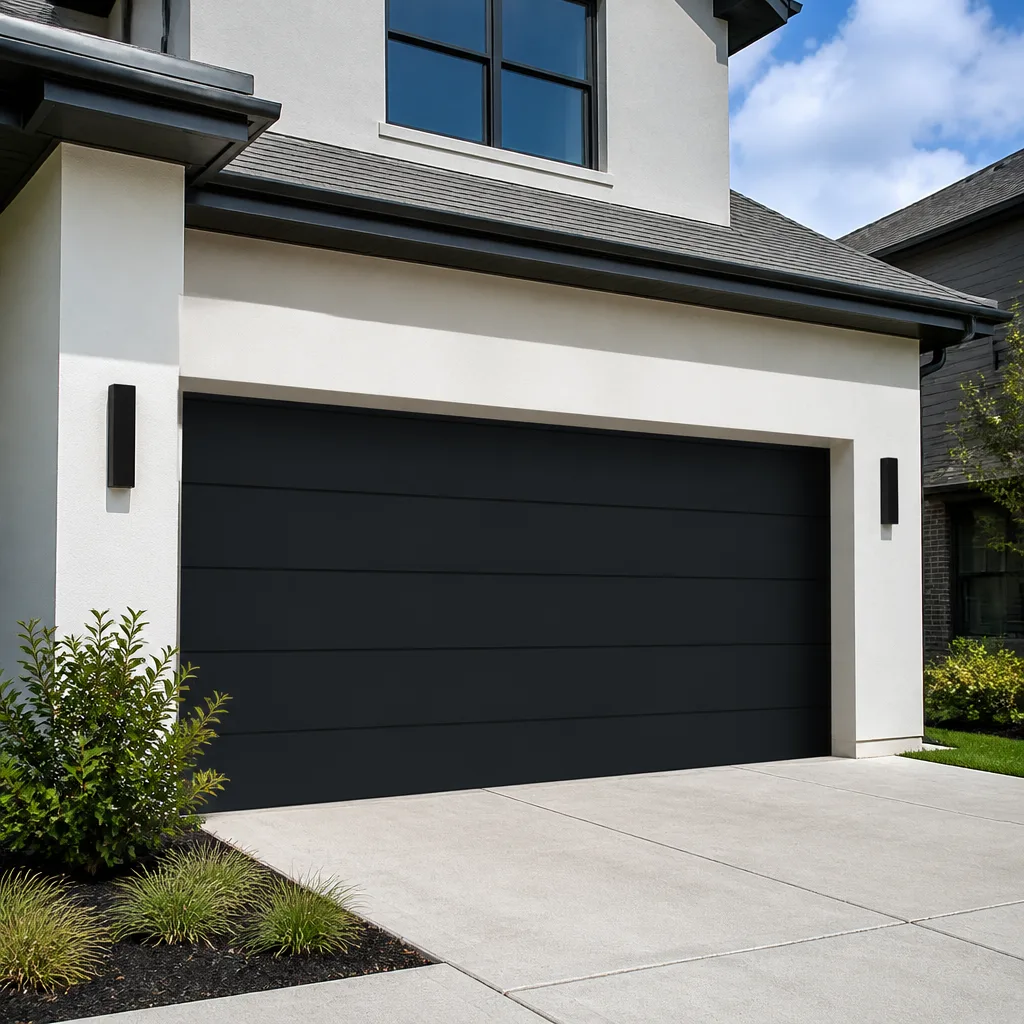 Modern flush
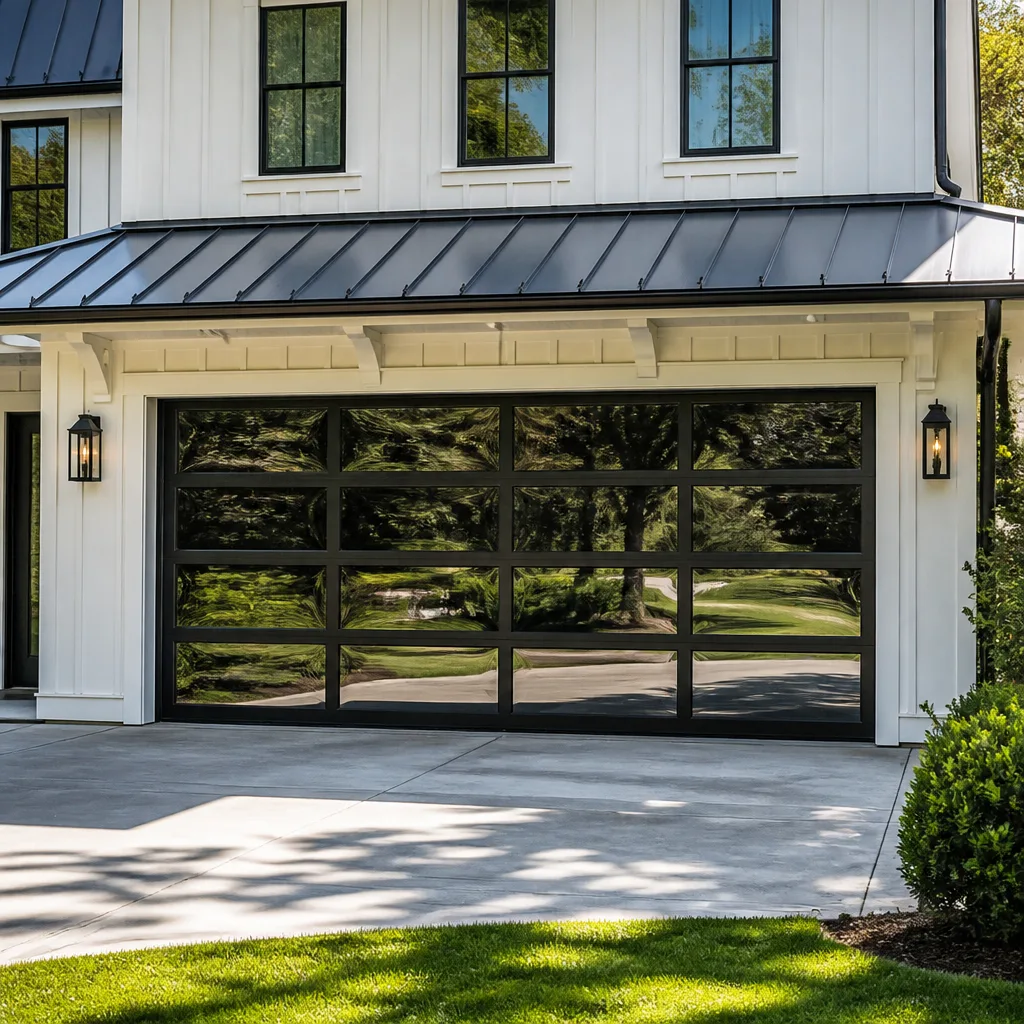 Full-view glass
 LiftMaster openers
 Chamberlain openers
Full 25-point door and opener safety check with every visit - springs, cables, rollers, tracks, and your LiftMaster or Chamberlain opener included
You get a price before we start. It does not change when the truck arrives.
Get your free estimateSeasonal Garage Door Care for San Diego: Year-Round Homeowner’s Guide
San Diego averages 266 sunny days a year. That sounds like a free pass for your garage door, until you realize UV radiation degrades weatherstripping, fades painted steel, and dries out roller bearings at the same rate here as it does in Phoenix or Tucson. There’s no winter freeze that forces you to notice your door is struggling. No ice damming, no sub-zero cold snap that seizes the opener. The damage just accumulates quietly, season after season, until the morning the door won’t lift and you’re late for work. This guide walks through what San Diego’s actual climate cycles do to your door, what to check each season, and what you can safely handle yourself versus what belongs in the hands of a trained technician. For a deeper look at that decision, see our DIY vs Professional Garage Door: The San Diego Homeowner’s Decision Guide.
Styles & brands we work with
Quick Answer
Seasonal garage door care in San Diego means checking and maintaining your door on a schedule built around the region’s real weather patterns: the marine layer months from May through September (salt moisture and humidity), the Santa Ana season from October through January (dust, debris, and dry air), and the summer peak-use period when daily door cycles can double. A basic seasonal routine takes under 30 minutes and should include cleaning the tracks, checking and lubricating the rollers and hinges, inspecting weatherstripping for UV damage, testing the auto-reverse safety feature, and visually inspecting springs and cables for wear.
Table of Contents
- San Diego’s Real Seasons: Marine Layer, Santa Ana, and Peak Use
- Marine Layer Maintenance (May – September)
- Santa Ana Season Care (October – January)
- UV Damage Assessment for Your Door’s Finish
- Earthquake Readiness and Your Garage Door
- Summer Peak-Use Inspection Schedule
- The 10-Minute Monthly Checklist for Every San Diego Homeowner
- Common Mistakes to Avoid
- When to Call a Professional
- Frequently Asked Questions
San Diego’s Real Seasons: Marine Layer, Santa Ana, and Peak Use
When homeowners in San Diego ask us about seasonal garage door maintenance, most are thinking of fall and spring like the rest of the country. But San Diego doesn’t have those seasons in any meaningful way. What we have instead is a cycle of three distinct climate patterns that each stress your garage door differently, and understanding them is the key to keeping a door working smoothly for 15 to 20 years.
The marine layer season runs roughly from May through September. Morning overcast and coastal fog roll in off the Pacific, blanketing neighborhoods from Point Loma to La Jolla to Carlsbad. That fog doesn’t just cool the air, it carries salt moisture. It condenses on cool metal surfaces overnight, including your garage door tracks, hinges, springs, and the bottom seal. For homes within two miles of the coast, this is the single most corrosive force your door faces. The salt accelerates oxidation on bare steel and breaks down rubber seals faster than inland homeowners would believe. What’s worse, it works silently. You won’t see a dramatic failure. You’ll see pitting on tracks, stiff rollers, and a bottom seal that crumbles when you touch it.
Then comes the Santa Ana season, typically October through January. Hot, dry winds blow in from the desert, dropping the relative humidity to single digits in places like El Cajon, Santee, and Poway. These winds carry fine dust and sand that infiltrates everything. The dust settles into the grease on your door’s moving parts, creating a grinding paste. Rollers that were quiet in August start squeaking by November. Tracks that were clean accumulate a film of grit. The dry air also causes rubber components to lose flexibility, which is a polite way of saying they crack. A bottom seal that survived the marine layer intact may split open during the first strong Santa Ana event of the season.
The third season isn’t climate at all, it’s behavior. Summer is peak-use season. Kids are home from school. The garage door opens and closes twenty times a day instead of six. That means every moving component, springs especially, racks up cycles at three to four times the normal rate. Springs are rated for a specific number of cycles, typically 10,000 to 20,000 depending on quality. A family that normally uses the door 2,000 times a year may triple that in a summer marked by pool parties, bike rides, and constant in-and-out traffic. Summer isn’t when you wait for a failure. It’s when you pre-inspect so a failure doesn’t strand a car inside the garage.
This guide is structured around those three periods plus the constant, year-round factor San Diego homeowners face: UV radiation. For The Complete Guide to Garage Door in San Diego and more guides & resources, visit our blog. We’ll walk through what to do during each window, why it matters, and how to know when a problem is beyond a simple homeowner fix.
Marine Layer Maintenance (May – September)
From May through September, the marine layer affects homes differently depending on how close you are to the coast. A homeowner in Clairemont or Pacific Beach is dealing with nightly fog and measurable salt deposition. A homeowner in Rancho Bernardo or Scripps Ranch may only see the marine layer on a handful of mornings, but elevated humidity still plays a role. Neither zone gets a pass. Salt moisture is the enemy of metal parts and rubber seals, and the damage compounds over the course of the summer.
Here’s what to do during the marine layer months, and how often.
- Inspect the bottom seal once a month (coastal) or every other month (inland). The bottom seal is the long rubber strip that runs along the bottom edge of the door where it meets the concrete. Bending down and running your hand along it will tell you more than a glance from six feet away. If it feels stiff, brittle, or shows cracks at the bend points, it’s starting to fail. On a coastal home, a seal that was soft and pliable in April can feel like hard plastic by August. A failed bottom seal lets in salt air, dust, and water during the occasional heavy rain, not to mention crickets, spiders, and the occasional lizard.
- Clean the tracks with a dry cloth every two months. Garage door tracks are the vertical and horizontal metal channels on either side of the door that guide the rollers. During the marine layer months, a fine layer of salt residue accumulates on them. Use a dry cotton rag or microfiber cloth and wipe the inside of each track from top to bottom. Leave the cloth dirty. That’s the salt and grime coming off. Skip the lubricant entirely during this step. Lubricant on tracks actually attracts dust and grit, which does more harm than good.
- Check hinge bolts and roller brackets for surface rust. The hinges are the metal plates that connect each door panel and allow the door to bend as it travels. Roller brackets hold the wheels (rollers) that ride inside the tracks. On coastal homes, these steel components develop surface rust faster than anywhere else in the county. Surface rust isn’t an immediate failure, but if you catch it early and clean it off with steel wool or fine sandpaper, you slow the progression. If a hinge or bracket is deeply pitted or the metal is flaking, replacement is the right call.
- Wipe down the weatherstripping along the sides and top of the door. These vertical and horizontal rubber strips seal the gap between the door and the frame. Salt residue builds up on them just like it does on the tracks. A damp cloth every couple of months removes the salt film and prevents it from drying into the rubber. Don’t use chemical cleaners; plain water on a rag is enough.
- Lubricate the rollers and hinges only after cleaning. The goal during the marine layer is to displace moisture and keep moving parts moving. Use a garage door lubricant (a spray-on lithium or silicone-based product, available at any hardware store) on the roller bearings, the hinge pivot points, and the torsion spring. A light coating is enough. If you can see liquid dripping, you’ve used too much.
One note on coastal salt damage that surprises people: the torsion spring, the heavy coil mounted above the door that handles most of the lifting weight, is especially vulnerable. Springs on homes in La Jolla, Del Mar, and Coronado often fail years earlier than identical springs on homes in Mission Valley or Chula Vista, simply because of the salt in the air. During the marine layer, a light spray of lubricant on the spring coils helps protect them. But if you see visible rust on the spring, that’s a signal that a Garage Door Spring Repair in San Diego may be needed sooner rather than later. A spring that breaks while under tension is a serious safety risk, and modern torsion springs release their stored energy in a violent snap when they fail.
Santa Ana Season Care (October – January)
When the Santa Ana winds start to blow, San Diego gets a taste of what desert-living garage doors deal with year-round. The wind carries fine dust, sand, and plant debris. It finds its way into garages, not through the giant opening you already know about, but through the gaps around the door edges, the unsealed corners, and every crack in the weatherstripping. Once inside, the dust doesn’t just sit on the floor. It gets kicked up by the car tires and air currents, and it finds every crevice and every lubricated component in the door system.
The most damaging combination during Santa Ana season is dust plus lubricant. Grease and oil are sticky by design. When fine dust settles on a lubricated track, roller, or hinge, it forms a paste that acts as an abrasive on every subsequent movement. The door still opens and closes, but each cycle grinds that grit against the metal surfaces. Rollers wear faster. Hinges develop play. Bearings lose their smoothness. By February, a door that was running quietly in September sounds like it’s groaning with every single operation.
Here’s the Santa Ana maintenance routine, done in this order.
- Wipe the tracks dry first. Before any lubrication happens, the tracks need to be dry and clean. Use a dry microfiber cloth and run it along the inside of each track, from the bottom of the vertical section to the end of the horizontal section. You’ll feel the resistance where dust has accumulated. Work the cloth into the corners. Then switch to a second clean section of the cloth and do it again. The goal is a track surface that feels smooth, not gritty.
- Dust the safety sensors. The safety sensors are the small units mounted near the floor on either side of the door opening, usually with a small green or amber light on each. They project an invisible beam across the opening, and if anything blocks it while the door is closing, the door reverses. Santa Ana dust coats the sensor lenses, and a dirty lens can cause intermittent false trips or, worse, prevent the door from closing at all. A dry cloth wiped gently over each lens once a month during Santa Ana season keeps them functional. If the light on a sensor is blinking instead of steady, it usually means the beam is blocked or the lenses need cleaning.
- Lubricate the rollers, hinges, and spring after the tracks are clean. Now add lubrication, not before. A small amount of garage door lubricant on each roller bearing, each hinge pivot, and the torsion spring coil is plenty. The right habit is to make the metal look wet but not dripping.
- Check the bottom seal for sand abrasion. Santa Ana winds drive sand along the concrete floor at the bottom of the door. That sand acts like sandpaper on the bottom seal every time the door closes. Run your hand along the underside of the seal and check for rough spots, thinning sections, or tears. A bottom seal in poor condition lets dust pour into the garage during every wind event.
- Inspect the cables for wear. The cables are the steel wires running along both sides of the door, attaching the bottom corners to the drum above. They work with the springs to lift the door. Santa Ana dust accelerates cable wear at the point where the cable bends around the drum. Look for frayed strands, kinks, or a cable that looks shiny rather than a uniform dull gray. If you see any of these, stop using the door and call for service. A broken cable on a door under spring tension is extremely dangerous and the door can fall hard enough to injure someone.
During Santa Ana season, the worst damage is what you can’t see. Bearings dry out. Grease becomes paste. Springs lose their coating. For most homeowners in San Diego, this four to five month stretch is when we get the majority of our spring replacement calls. A homeowner in Scripps Ranch or Poway will tell us the door was working perfectly all summer, and then one day in November, it just stopped. The truth is it didn’t just stop. It had been accumulating dust damage for weeks. The failure was just the moment the accumulated wear passed the breaking point.
UV Damage Assessment for Your Door’s Finish
San Diego gets more direct sunlight than almost any other major coastal city in the country. And here’s the part nobody tells you: UV radiation is relentless on a garage door. The sun doesn’t care whether the temperature is perfect. It’s hitting your door every clear day, from the first year of installation to the last. Paint fades. Powder coating chalks. Faux-wood finishes crack. Weatherstripping turns hard and brittle. And once the protective surface layer is compromised, the substrate beneath, whether it’s steel or an engineered wood composite, is exposed to moisture and oxidation.
The specific failure to watch for is chalking. Chalking is what happens when the resin binders in a painted or powder-coated surface break down from UV exposure, leaving a fine, powdery residue on the surface. Run your hand across the face of a south-facing or west-facing door panel sometime. If your hand comes away with a light dusting of color, the finish is chalking. Chalking itself isn’t a structural failure, but it’s the canary in the coal mine. Once chalking begins, the finish is no longer protecting the metal underneath. On painted steel doors, you’ll see fading first, then chalking, then micro-cracking, then eventually rust bleeding through the paint.
For faux-wood finishes, which are increasingly popular in neighborhoods like Del Cerro, Rancho Peñasquitos, and throughout North County, the mechanism is slightly different. Faux-wood is a film or powder coating designed to look like wood grain. UV exposure causes the film to crack along the grain lines. Once cracking starts, water from rain or morning dew infiltrates between the finish and the substrate. In San Diego’s mild climate, this isn’t a fast process, but it doesn’t have to be fast to ruin a door. Five years of untreated micro-cracking is enough to cause delamination, which is when the finish separates from the door panel in sheets. At that point, the door needs refinishing or replacement, which is significantly more expensive than catching it early.
Weatherstripping is the other UV casualty. The rubber side and top seals, and especially the bottom seal, are exposed to direct sun for at least part of every day on most San Diego homes, depending on door orientation. West-facing doors take the worst of it, especially in neighborhoods with long afternoon exposure like Point Loma, Ocean Beach, and the coastal bluffs. UV breaks down the plasticizers in the rubber, which are the compounds that keep the rubber flexible. When the plasticizers degrade, weatherstripping turns rigid, then cracks. You’ll notice it first at corners, where the material bends around a radius. If you pinch a section of weatherstripping between your fingers and it doesn’t spring back quickly, or if you see cracks at the bend points, it’s time for replacement.
The assessment suggestion is straightforward: every March, before the marine layer season starts, do a full visual and tactile inspection of the door’s finish and weatherstripping. Walk around the door. Look at the panels closest to the sun. Touch the surface. Check the seals. If the finish is chalking and the door is otherwise structurally sound, many homeowners can extend its life with a quality exterior paint job designed for metal surfaces. If the weatherstripping is stiff or cracked, the replacement cost is modest compared to the energy loss, dust infiltration, and moisture damage that a failed seal allows.
For homeowners who want to understand the full picture of what condition their door is in and what it would cost to address any issues, a Garage Door Repair in San Diego visit from a technician can provide an honest, written assessment. The written price means there’s no pressure to say yes on the spot.
Earthquake Readiness and Your Garage Door
San Diego isn’t on the San Andreas Fault itself, but the city sits within shaking distance of several significant fault lines, including the Rose Canyon Fault which runs directly through parts of Mission Bay, La Jolla, and downtown. A moderate quake on the Rose Canyon would be felt across the county. And here’s the thing most homeowners don’t consider: the garage door is the largest moving object in the house. When the ground shakes, that door is moving whether you want it to or not.
The specific earthquake-related component to understand is the seismic disconnect, sometimes called an emergency release or breakaway device. On most modern openers, there’s a mechanism that allows the door to disconnect from the opener carriage during seismic activity. The carriage is the part that travels along the rail, pulling the door open or pushing it closed. During an earthquake, the seismic disconnect releases the door from the carriage so the ground movement doesn’t rip the opener off its mounts or bend the rail. If the disconnect functions correctly, the door stays in place, and the opener releases. If it doesn’t function correctly, or if it’s been improperly adjusted, the result can be structural damage to the opener, the door, or the tracks.
Annual earthquake-season maintenance, which for San Diego is really just every season, includes these steps.
- Test the manual release twice a year. The manual release is the red cord hanging from the opener carriage. Pull it to release the door from the opener. You should be able to lift the door manually with one hand. If the door is heavy, if it drops when you let go, or if it won’t stay open on its own, the springs are not properly balanced. This means the opener motor is doing more work than it should, and the door is not operating safely. Call a technician to inspect the spring balance.
- Check that the door remains seated on both tracks after any significant seismic event. Look at the rollers inside the vertical tracks. Each roller should be fully seated inside the track channel. If a roller has jumped the track, or if the track itself is bent or twisted, do not attempt to operate the door by the opener. A door that’s off-track can fall or jam, and attempting to force it creates a real risk of injury or further damage.
- Verify the opener’s safety reversing feature works. The auto-reverse function, which makes the door reverse when it hits an obstruction, should be tested monthly, not just after earthquakes. Place a 2×4 or a solid object on the floor in the path of the closing door. The door should reverse within two seconds of contacting it. If it doesn’t reverse, the force limit needs adjustment or the sensors need attention.
- Inspect the walls and ceiling around the opener mounting points for cracks. After any noticeable earthquake, give the garage a look. If the opener rail bounces or shifts when the door operates, or if you see fresh cracks in the drywall around the mounting brackets, the opener may need to be re-anchored. This is a straightforward job, but it matters.
The broader point about earthquake readiness: a properly maintained door is far less likely to be damaged in an earthquake than one with neglected springs, loose hardware, or a poorly adjusted opener. When everything is in balance and the hardware is tight, the door can absorb a lot of movement without damage. When the springs are worn and the bolts are loose, that same movement becomes destructive. If the Rose Canyon Fault decides to wake up, the door you maintained is the door that still opens afterward.
Summer Peak-Use Inspection Schedule
In a typical suburban San Diego home in neighborhoods like Tierrasanta, Carmel Valley, or Rancho Peñasquitos, the garage door gets used between four and eight times a day during the school year. Two cars leave in the morning, two come home in the evening, maybe a trip to the store. But when summer hits and school is out, that usage pattern changes overnight. Teenagers are in and out all day. The bikes come out of the garage in the morning and go back in at lunch. The pool toys are constantly being retrieved. The in-laws are visiting and parking in the driveway, which means the garage becomes the storage overflow area, which means the door is always opening.
We see doors in San Diego that go from 2,000 cycles a year to 8,000 or more in a single summer, depending on the household. A cycle is one full open and one full close. Torsion springs are rated by cycles, and the affordable springs that were installed by a previous owner or a previous company may be rated for only 10,000 cycles. Do the math. If a door goes through 8,000 cycles in a heavy-use summer, and it’s been in service for five years already, that spring is living on borrowed time. This is why summer is the right time to inspect springs and cables, not after a failure leaves your car trapped in the garage on a Saturday morning when you’re already running late.
The pre-summer inspection checklist:
- Visually inspect the torsion spring. The torsion spring is the heavy coil mounted on a metal tube above the closed door. Look for gaps in the coils, rust, or visible wear. A gap in a coil, usually near the middle or at one end, means the spring is broken. Sometimes a broken spring is obvious, sometimes it’s subtle, especially on two-spring systems where one side breaks and the other keeps doing the work. If one spring is broken, the one that’s still intact is carrying all the load and is likely near failure too. Springs are replaced in pairs.
- Look at the cables on both sides. Cables should be taut and smooth. Fraying, shiny spots, or a cable that looks loose are all red flags. When a spring breaks, the cable on that side can snap as well, and the door can drop. This is the most dangerous failure mode for a garage door system.
- Listen to the opener. Run the door through one full open and close cycle and listen. A healthy opener with a balanced door and good lubrication makes a smooth, even sound. Grinding, rattling, or hesitation at certain points in the travel suggests a problem. The chain on a chain-drive opener will always make some noise, but it should be rhythmic and consistent, like a sewing machine, not a garbage disposal.
- Check the auto-reverse feature. This is the same test mentioned earlier, but it’s worth repeating before the highest-use season of the year. Place a solid object in the door’s path and confirm the door reverses when it contacts the object. This is a non-negotiable safety feature, especially with kids home from school and spending time in and around the garage during the summer.
- Count your door’s daily cycles for one week. Track a couple of days in July and see what number you get. If your door is operating 20-plus times a day, and it’s been years since the springs were replaced, that’s the signal to get ahead of it. A spring replacement is routine and takes less than an hour for a technician. A broken spring that strands the door closed is a much bigger problem.
Summer is also when new Garage Door Installation in San Diego requests spike, as people realize the door that’s been patched together for years isn’t going to survive another season of heavy use. If your door is showing its age across multiple components, a full replacement starts to make more sense than piecemeal repairs.
The 10-Minute Monthly Checklist for Every San Diego Homeowner
If you do nothing else from this guide, do the monthly checklist. Ten minutes. That’s the whole commitment. Set a recurring reminder for the first Saturday of the month and make it a habit. Here’s what that ten minutes buys you: you catch issues at the maintenance stage, not the failure stage. A garage door that gets ten minutes of attention each month will routinely last 15 years or more. A garage door that gets ignored until something breaks will cost two to three times as much over its lifetime to maintain.
- Wipe down the track surfaces with a dry cloth (2 minutes). Run the cloth along the inside of each vertical track and each horizontal track. Don’t use lubricant here. Just remove the surface grime.
- Check the visual condition of the springs and cables (1 minute). Look up. Any gaps in the spring coils? Any rust? Any frayed cable strands? If yes, don’t wait. Call for a professional inspection.
- Test the auto-reverse feature (1 minute). Place something solid in the door’s path and close the door. It should reverse within two seconds of contact.
- Look at the weatherstripping around the door (1 minute). Run your eyes and then your hand along the bottom seal, side seals, and top seal. Stiffness and cracks mean it’s time to replace.
- Listen to the door during one full cycle (2 minutes). Open it, close it. Pay attention to the sound. A door that suddenly starts making a new noise is telling you something.
- Check the sensor lights (1 minute). Both sensors should show a steady light when the door is closed and aligned. A blinking light means misalignment or a dirty lens.
- Scan the door panels for damage (2 minutes). Dents, cracks, fading, chalking. Note anything new. Early intervention is always cheaper.
The philosophy behind this checklist matches the way Bramwell Garage Doors San Diego approaches every job. Bramwell Garage Doors San Diego home service is built on the Kingswell Way: say the price before the work, show up in the window you promised, leave the place cleaner than you found it, put the guarantee in writing, and come back if it fails. The same principle applies to maintenance. Do the small things consistently and the big things never happen. It’s less work to spend ten minutes a month than to replace a spring, a track, and a cable all at once.
For the record, the spring replacement that could have been prevented by regular inspection is exactly the kind of thing the Kingswell Guarantee is designed to address when it does happen. Every repair Bramwell does comes with a written guarantee and the 365-Day Done Right Promise. If the repair fails within the guarantee period, the company comes back and fixes it at no charge. That’s in writing, not just said at the door. And the written price is delivered before any work starts, so the number on the invoice matches the number the homeowner agreed to.
Common Mistakes to Avoid
We’ve been doing garage door work in San Diego since 2001, and in that time, we’ve seen every mistake a homeowner can make. Most are understandable. People aren’t trained on garage door systems. They don’t know the difference between a torsion spring and an extension spring. But the mistakes are costly, and a small amount of awareness prevents most of them. Here are the most common ones we see in San Diego specifically.
- Waiting for a failure before addressing an obvious problem. The number of times we’ve heard “the door was making a weird noise for months and then it just broke” could fill a stadium. A noise is a signal. It’s the door telling you something is wrong. If the door sounds different than it did last month, don’t wait for the failure. The failure almost always costs more than the repair would have.
- Using WD-40 on the tracks and rollers. WD-40 is not a lubricant for garage doors. It’s a solvent and water displacer. It will clean the parts temporarily, and then it will evaporate, leaving them drier than before. Use a proper garage door lubricant on the rollers, hinges, and spring. Leave the tracks dry.
- Attempting to replace a torsion spring without proper training and tools. This is the one that lands people in the emergency room. Torsion springs are under enormous tension. The winding bars, the technique, the torque measurements, it’s all specific and dangerous. The cost of a professional spring replacement in San Diego runs $150 to $280 for most doors including parts and labor. That’s a fair price for avoiding a trip to the hospital. Never attempt this yourself.
- Ignoring the auto-reverse test because “it’s always worked fine.” Safety features degrade. The force limit drifts. Sensors get dirty. Testing monthly takes one minute and it’s the difference between a garage door that stops when it hits a child and one that doesn’t.
- Lubricating without cleaning first, especially during Santa Ana season. This is the classic error. Adding new lubricant on top of dust-laden parts creates the abrasive paste we described earlier. Clean first, then lubricate. Always. Every time.
- Replacing weatherstripping with the wrong product. Not all seals are universal. The seal that fits a Clopay door may not fit a Wayne Dalton door properly. Using the wrong profile results in gaps, which defeats the purpose of the seal. When in doubt, ask a professional or get the part number from the door manufacturer.
- Skipping maintenance entirely on a brand new door. New doors are the most neglected doors. The thinking is “it’s new, it doesn’t need anything.” But new doors need the same monthly attention as old ones, especially during the marine layer and Santa Ana seasons. The maintenance establishes the baseline that makes future problems easier to detect.
When to Call a Professional
Some garage door tasks are homeowner territory. Cleaning tracks, testing the auto-reverse, wiping down weatherstripping, applying lubricant to accessible parts, these are all fine to handle yourself with basic care. But other problems are firmly in the professional zone, and knowing which is which is part of being a responsible homeowner.
Call a professional when the door won’t open or close at all and the manual release doesn’t help. Call when you see a gap in a torsion spring, a frayed cable, or a bent track. Call when the door operates but makes a grinding or scraping sound that wasn’t there before. Call when the door feels heavy to lift manually, which means the springs aren’t doing their job. Call when the opener runs but the door doesn’t move. And absolutely call if a spring breaks while you’re nearby, which is a catastrophic failure that makes a sound like a gunshot. Don’t touch anything. Step well back from the door. Call a professional.
Bramwell Garage Doors San Diego offers free estimates across San Diego, including all the neighborhoods mentioned throughout this guide and every community in the county. Our technicians are background-checked, arrive in uniform, and arrive within a stated window. The written price is delivered before any work begins, and the invoice matches the quote. Every repair comes with a written guarantee and the 365-Day Done Right Promise. If a covered repair fails inside the guarantee period, we return and fix it at no charge. That commitment is in writing on every job. Call (619) 374-2463 to schedule a free estimate.
Frequently Asked Questions
In San Diego’s coastal climate, lubricate the rollers, hinges, and torsion spring every three to four months during the marine layer season (May through September) and again during Santa Ana season (October through January). Use a garage door lubricant designed for the purpose, never WD-40, and always clean the surfaces with a dry cloth before applying anything new. For inland areas like Poway or Santee where dust accumulation is the bigger issue, some homeowners find that four times a year is enough.
For a homeowner doing their own maintenance, the cost is minimal: a can of garage door lubricant runs $8 to $15 and lasts a full year, a microfiber cloth costs a few dollars, and replacement weatherstripping runs $15 to $40 per section depending on the door. For professional maintenance visits, most San Diego companies charge $75 to $150 for a tune-up that includes lubrication, inspection, and minor adjustments. For a detailed Garage Door Cost Breakdown: The San Diego Homeowner’s Reference for 2026, see our dedicated guide. Bramwell Garage Doors San Diego provides written pricing before any work starts, so the cost is always clear. Call (619) 374-2463 for an exact quote; estimates are free.
Yes. Homes within two miles of the Pacific Ocean experience measurable salt deposition on metal surfaces, and that salt accelerates corrosion on tracks, hinges, springs, and cables. A torsion spring on a home in La Jolla or Point Loma will often fail years earlier than an identical spring on a home in Mission Valley or El Cajon, simply because of the salt in the air. Coastal homeowners should check their door components more frequently and allow for earlier replacement cycles on springs and cables.
No. Torsion springs are under hundreds of pounds of torque, and a single mistake during the winding or unwinding process can cause serious injury or death. This is not a project for a determined homeowner with a YouTube tutorial. Professional spring replacement in San Diego typically runs $150 to $280 including parts and labor, and it’s the right call every time. Bramwell technicians carry the necessary parts on the truck and complete most spring replacements the same day.
Look for a visible gap in the torsion spring coils, which indicates a break. Listen for a loud bang from the garage, which is the sound of a spring snapping. Test the balance by pulling the manual release cord and lifting the door by hand; if it’s heavy or won’t stay open on its own, the springs are worn out. Springs are rated for a specific number of cycles, and with San Diego homes using their doors more often in summer, spring replacement is a normal part of ownership every 7 to 12 years depending on use. If you suspect spring trouble, call (619) 374-2463 for a free estimate from Bramwell.
Does Bramwell service all garage door brands in San Diego?
Yes. Bramwell Garage Doors San Diego is authorized to service all major brands, including LiftMaster, Chamberlain, Genie, Clopay, Amarr, Wayne Dalton, Craftsman, and Raynor. The
See the difference
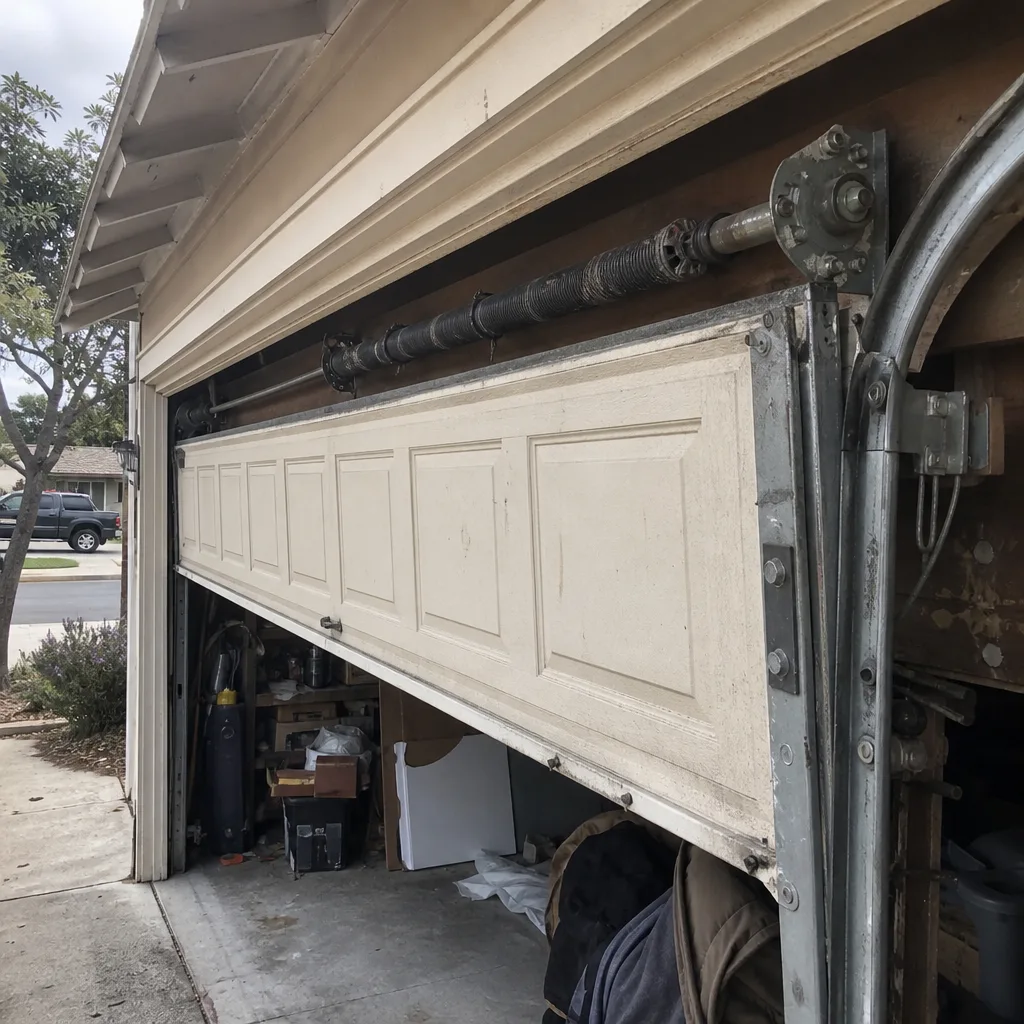 Before
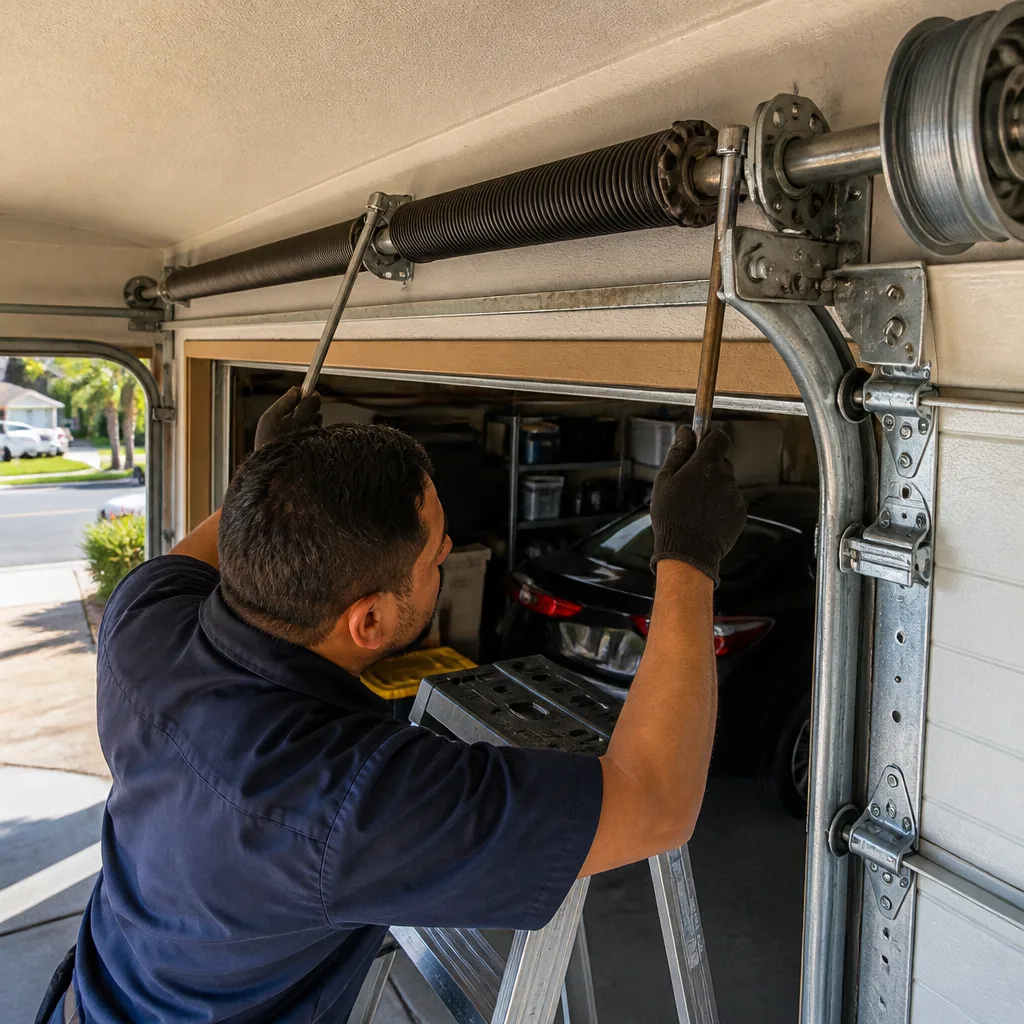 After
After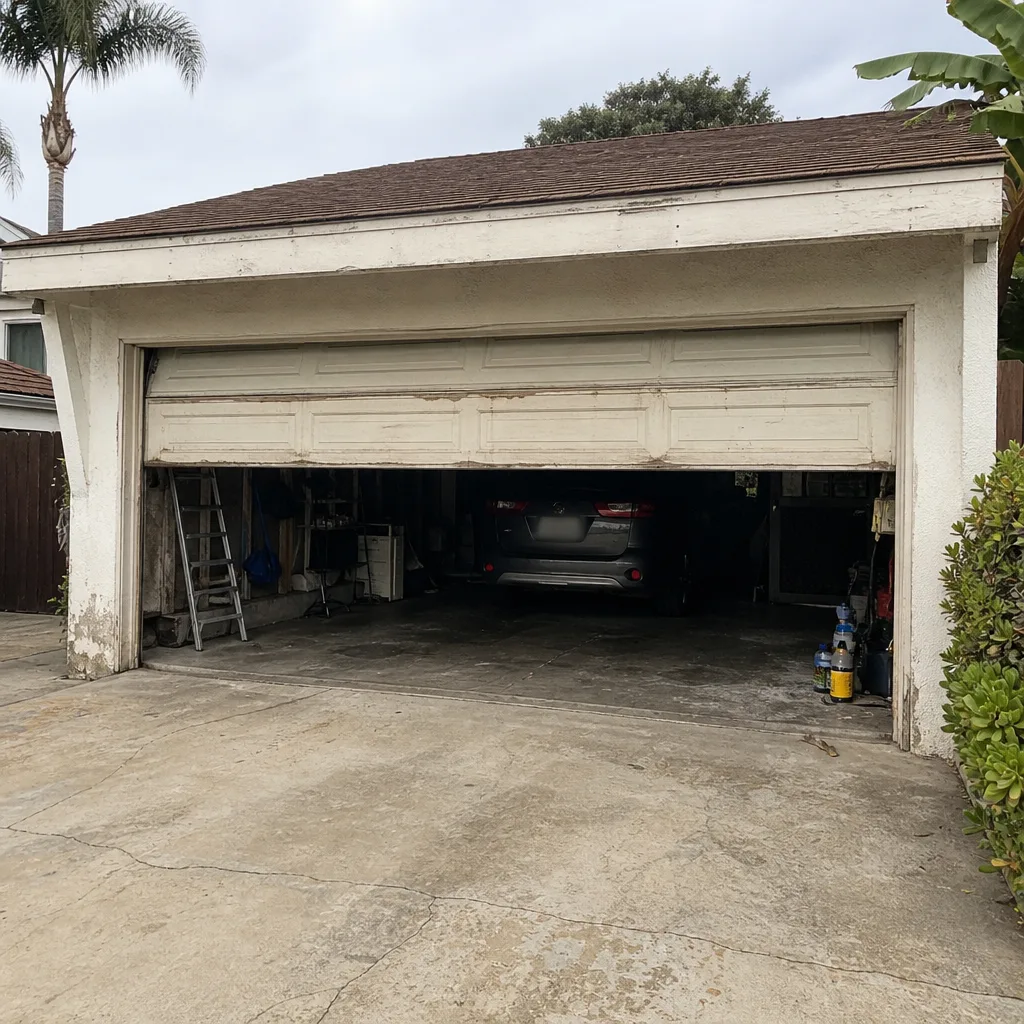 Before
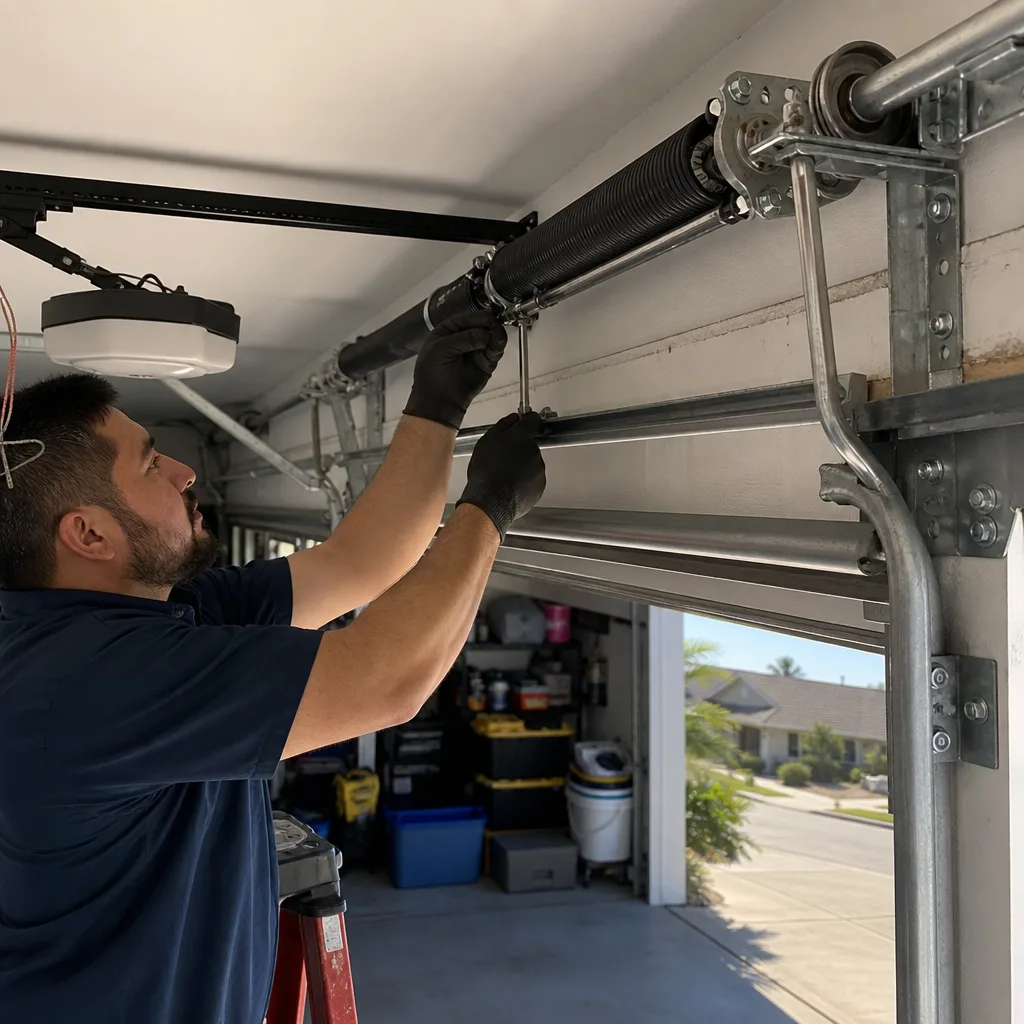 After
After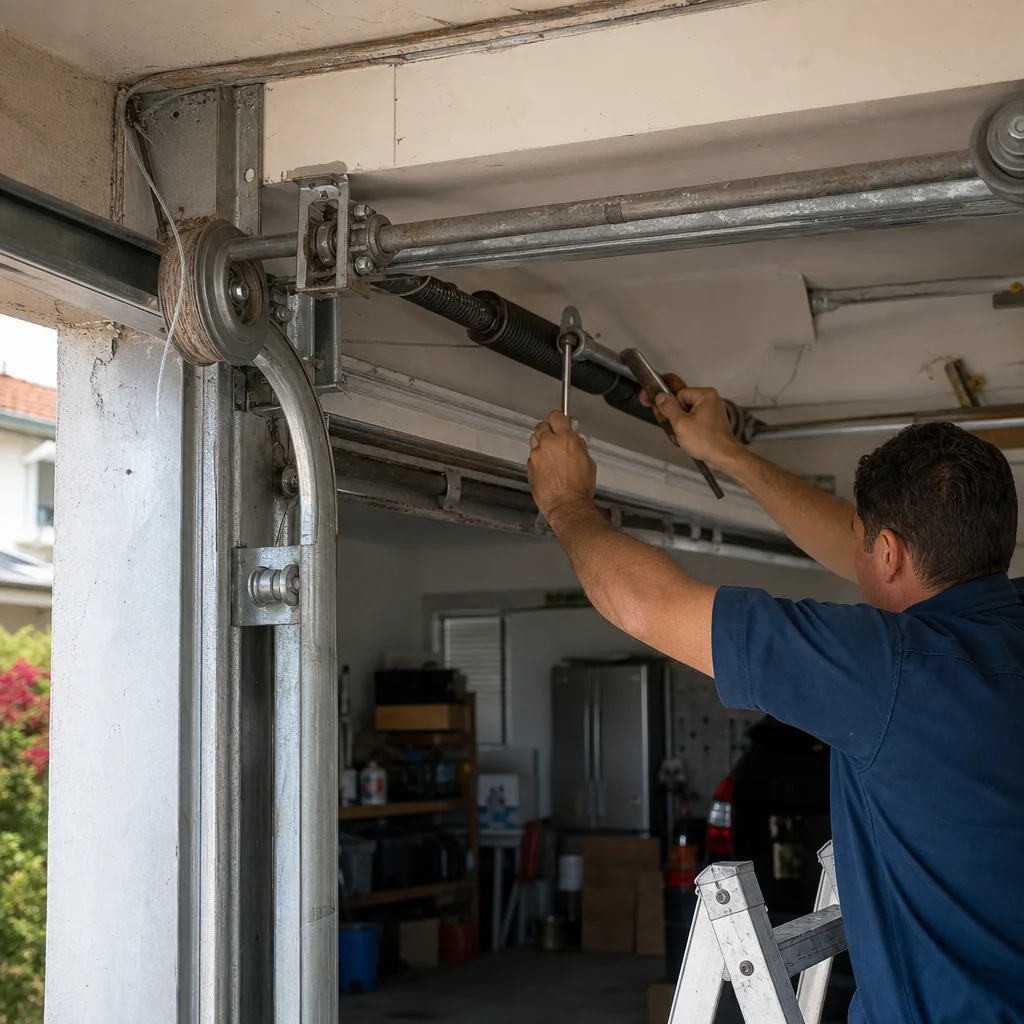 Before
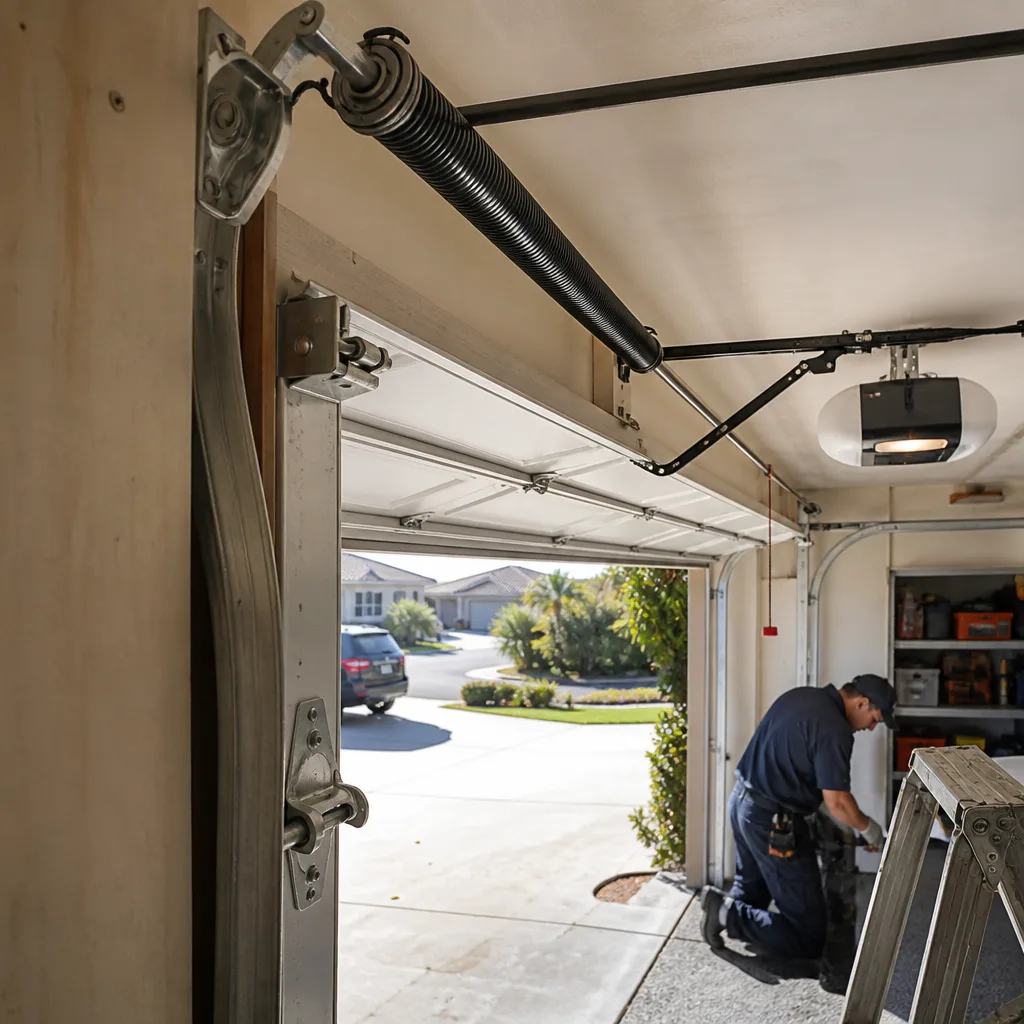 After
After