
Last updated October 16, 2026
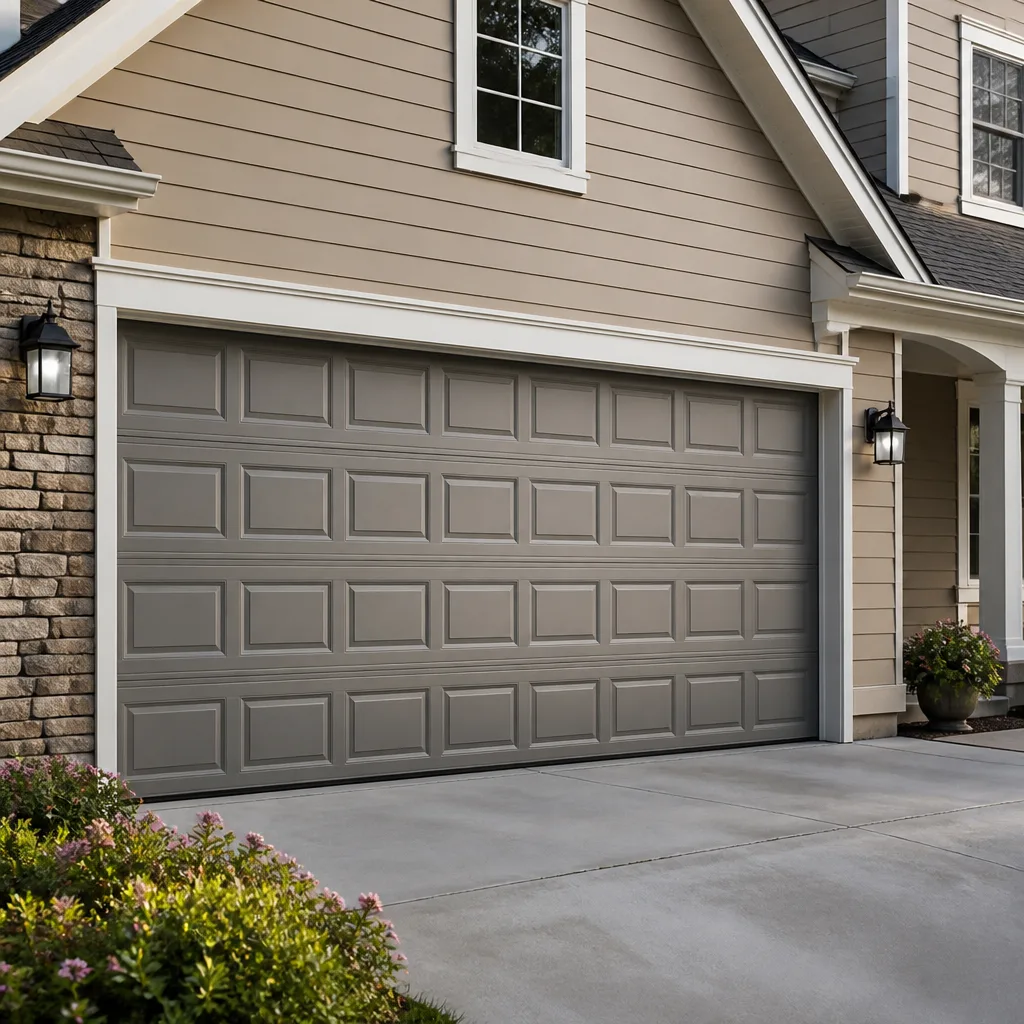 Raised-panel steel
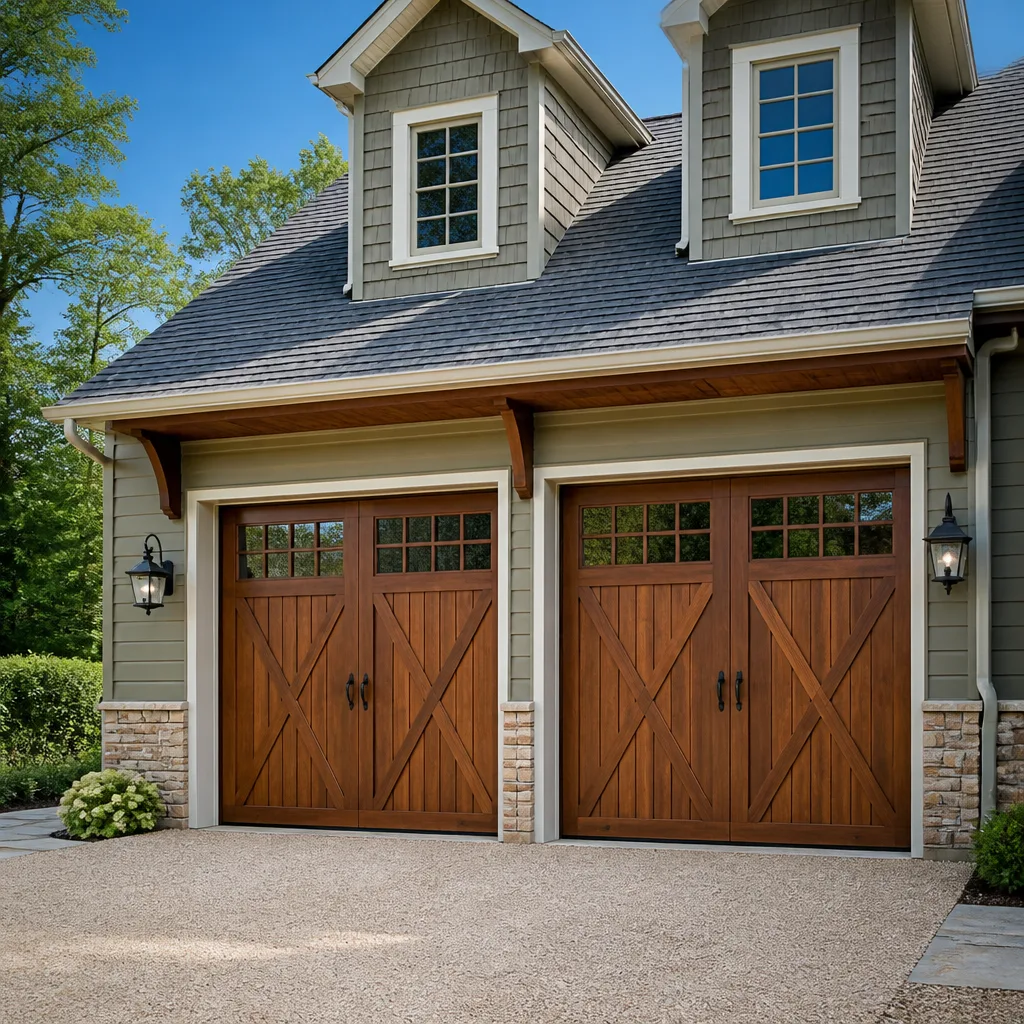 Carriage house
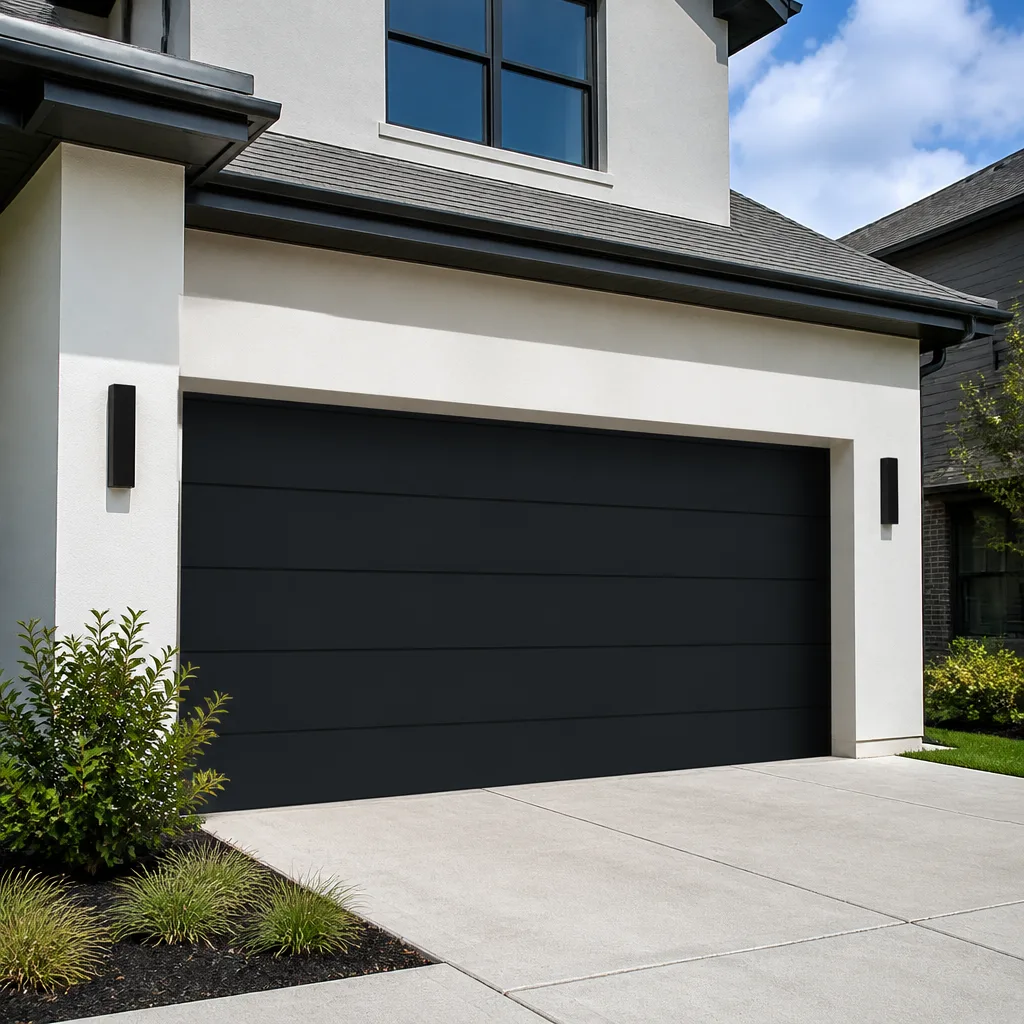 Modern flush
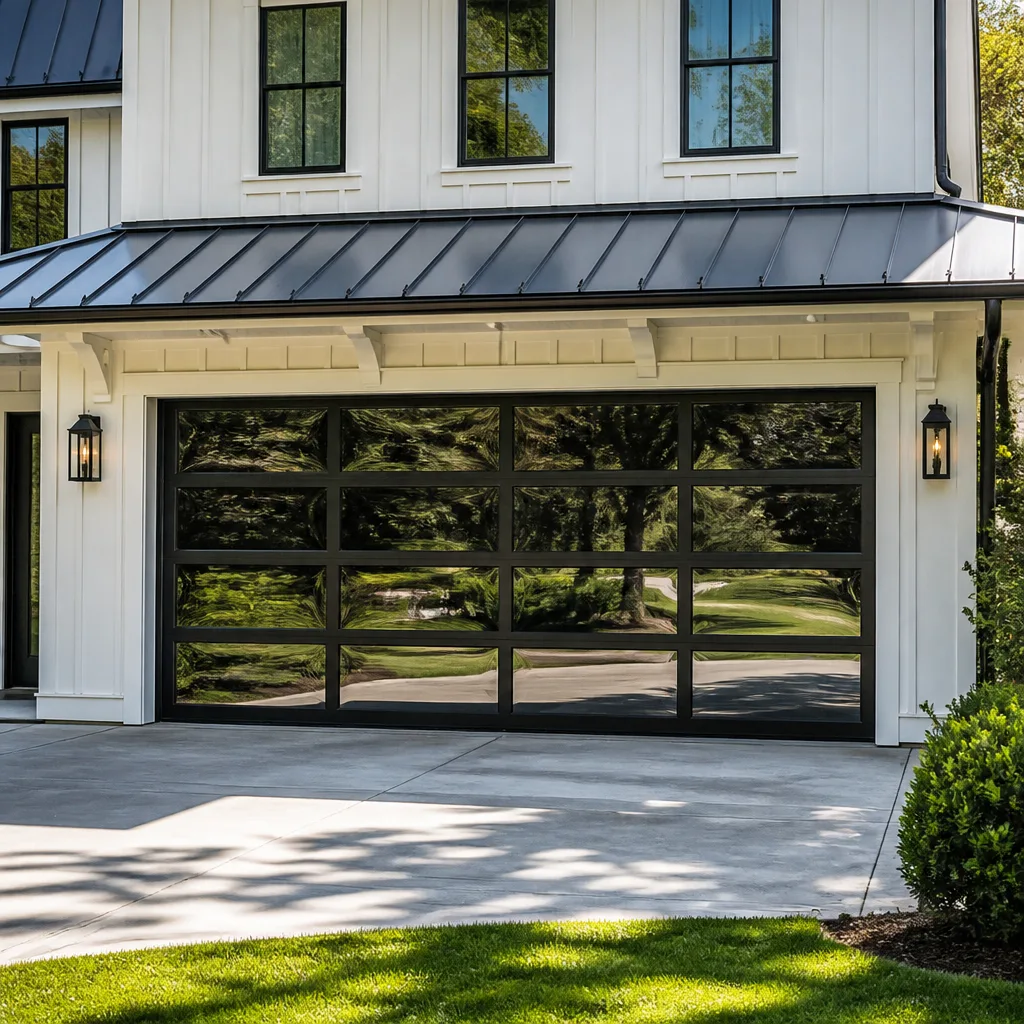 Full-view glass
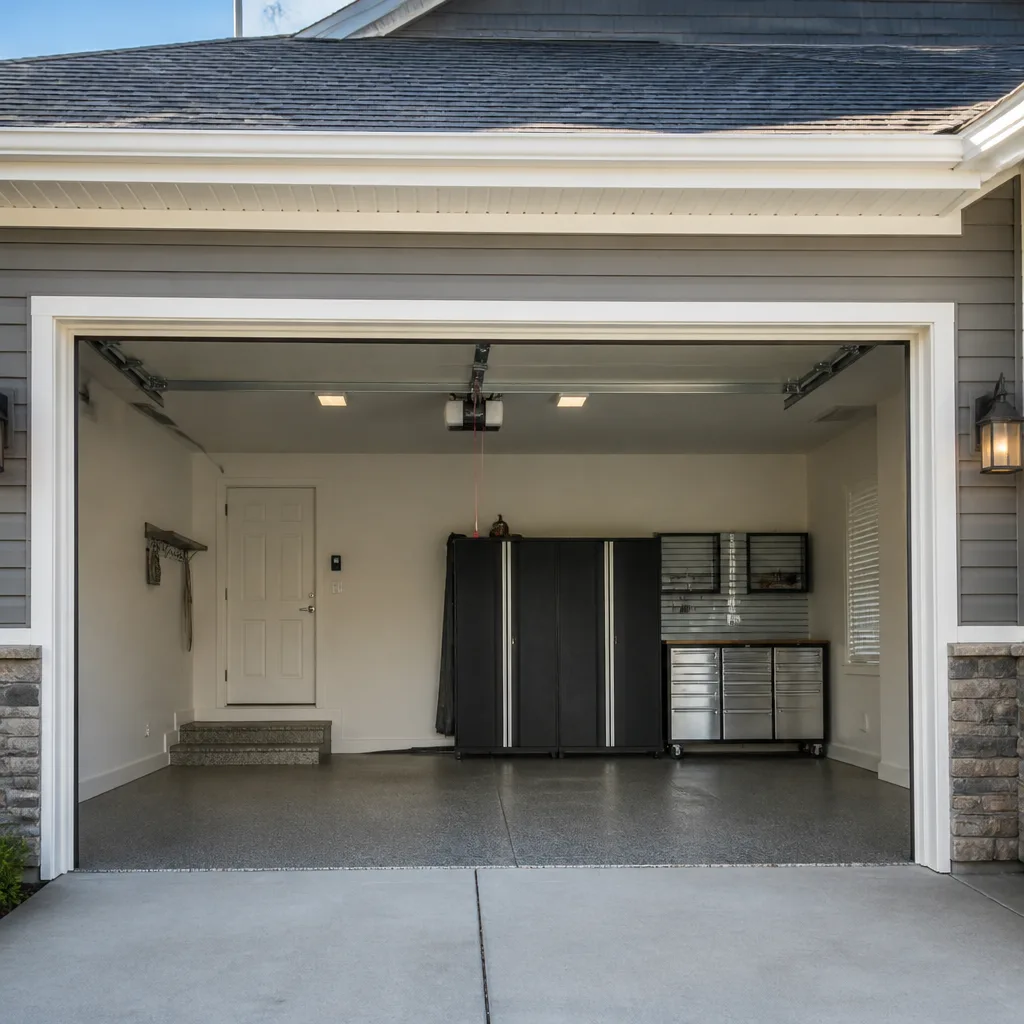 LiftMaster openers
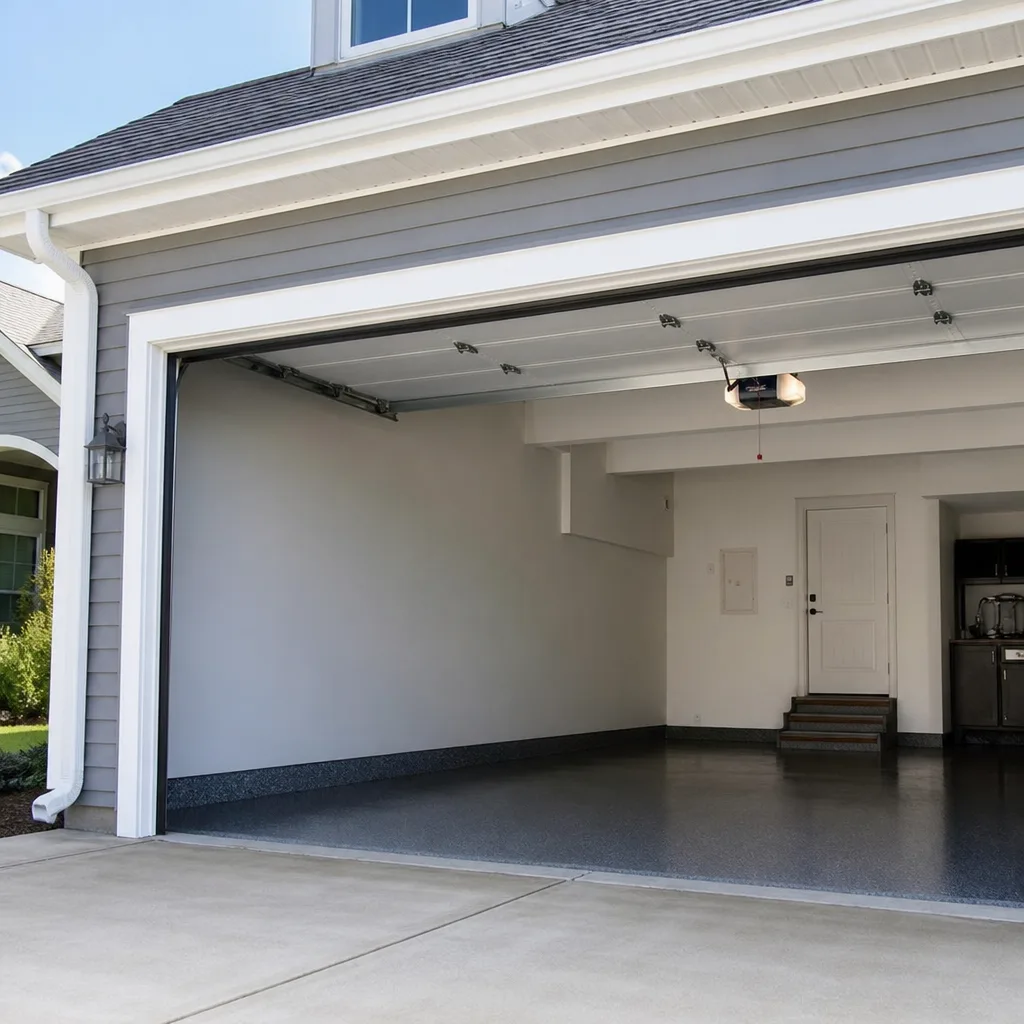 Chamberlain openers
Full 25-point door and opener safety check with every visit - springs, cables, rollers, tracks, and your LiftMaster or Chamberlain opener included
You get a price before we start. It does not change when the truck arrives.
Get your free estimateDIY vs Professional Garage Door: The San Diego Homeowner’s Decision Guide
A torsion spring mounted above a San Diego garage door stores roughly 100 foot-pounds of torque when wound. Released improperly, that stored energy can break a wrist, shatter a forearm, or take out an eye. This is not a liability disclaimer buried in fine print. It is a physics fact, and it explains why spring replacement is the one task this guide will not walk you through, even though nearly every other maintenance item covered here is genuinely DIY-able. By the time you finish reading, you will know exactly where the line sits between what you can safely handle yourself and what belongs in the hands of a trained professional-our Garage Door Repair Maintenance Checklist for San Diego Homeowners covers the safe side of that line in detail.
Styles & brands we work with
Quick Answer
Most garage door maintenance in San Diego is safe for a capable homeowner: lubrication, sensor cleaning, weatherstrip replacement, track cleaning, and even opener limit-switch adjustment are all straightforward DIY jobs that take under an hour. Two tasks are professional-only regardless of your skill level: torsion spring winding or replacement, and cable drum replacement. Both involve stored mechanical energy that can cause severe injury. Call a professional for those two, and save the rest for a Saturday morning.
Table of Contents
- The Safe DIY List: Six Tasks Any San Diego Homeowner Can Do
- The Two Professional-Only Tasks (And Why Skill Doesn’t Matter)
- Tool Cost Reality Check: What DIY Spring Work Actually Requires
- How to Describe a Symptom So You’re Quoted for the Actual Problem
- The Honest Math on DIY Opener Installation
- How San Diego’s Climate Changes the DIY Equation
- Common Mistakes to Avoid
- When to Call a Professional
- Frequently Asked Questions
- The Bottom Line
The Safe DIY List: Six Tasks Any San Diego Homeowner Can Do
Before we get into the dangerous stuff, let us be clear about what you can absolutely do yourself. We have walked hundreds of San Diego homeowners through these tasks over the phone, and none of them require special tools, previous experience, or more than an afternoon. In fact, doing these six things once a year will extend the life of your door and opener by years.
1. Lubricate the Moving Parts
This is the single highest-value maintenance task you can do, and it takes fifteen minutes. Purchase a lithium-based spray lubricant or a dedicated garage door lubricant from any hardware store. Do not use WD-40 as a lubricant; it is a solvent and will strip existing grease. Spray the hinges, rollers, and the torsion spring itself (the heavy coil mounted above the door that handles most of the lifting weight). Apply a thin coat, wipe away excess, and run the door up and down twice. In coastal neighborhoods like Point Loma or La Jolla, salt air accelerates metal wear, so we recommend lubricating quarterly instead of annually.
2. Replace the Bottom Weatherstrip
The rubber strip along the bottom of your door cracks and flattens over time, especially after a few hot El Cajon or Santee summers. A replacement strip costs $15 to $30 at any San Diego hardware store. Pull the old strip out of its track, slide the new one in, and trim the ends. If you see daylight under the door when it is closed, your weatherstrip is gone. This is a five-minute fix that keeps out dust, rodents, and the occasional monsoon-season rain.
3. Clean and Realign the Safety Sensors
The two small sensors mounted near the floor on either side of your door track have one job: detect anything in the door’s path and reverse the door. If they drift out of alignment, the door will refuse to close and the opener light will blink. Wipe the sensor lenses with a dry cloth first. If the problem persists, loosen the wing nut on the sensor bracket, adjust the sensor until the indicator light glows steady, and retighten. A steady light on both sensors means the invisible beam between them is intact.
4. Adjust the Limit Switch on the Opener
The limit switch tells your opener where “up” and “down” are. If your door slams into the ground or stops a foot short of the floor, the limit switch is the likely culprit. On most LiftMaster, Chamberlain, and Genie openers, the adjustment is made with a flathead screwdriver on the side of the motor unit. Turn the “down” limit screw a quarter turn in the direction marked on the unit, then test the door. Make small adjustments. A door that reverses immediately after touching the floor has a limit set too low. This fix costs nothing and takes ten minutes, including testing.
5. Clean the Tracks
Your door’s vertical and horizontal tracks collect dust, cobwebs, and the fine desert grit that blows in from the east county. Wipe the interior of the tracks with a damp cloth and inspect for dents or gaps where the track sections meet. Do not apply grease to the tracks; the rollers should glide on clean metal, not a lubricant that will attract grime. If you find a bent section, note it and call us. A bent track under tension can bind the door and wear out the rollers prematurely.
6. Tighten Loose Hardware
A garage door moves up and down roughly 1,500 times a year. That repeated motion loosens bolts on hinges, roller brackets, and the track mounts. Walk around with a socket set and snug up anything that moves. Do not overtighten; just remove the play. Pay special attention to the bolts holding the opener rail to the ceiling header and the lag screws securing the track to the wall. A free and thorough garage door repair in San Diego always includes this hardware pass, but it is entirely doable on your own.
The Two Professional-Only Tasks (And Why Skill Doesn’t Matter)
Here is the hard line, stated plainly: there are exactly two garage door tasks that a homeowner should never attempt, and the reason has nothing to do with how handy you are.
Torsion Spring Winding and Replacement
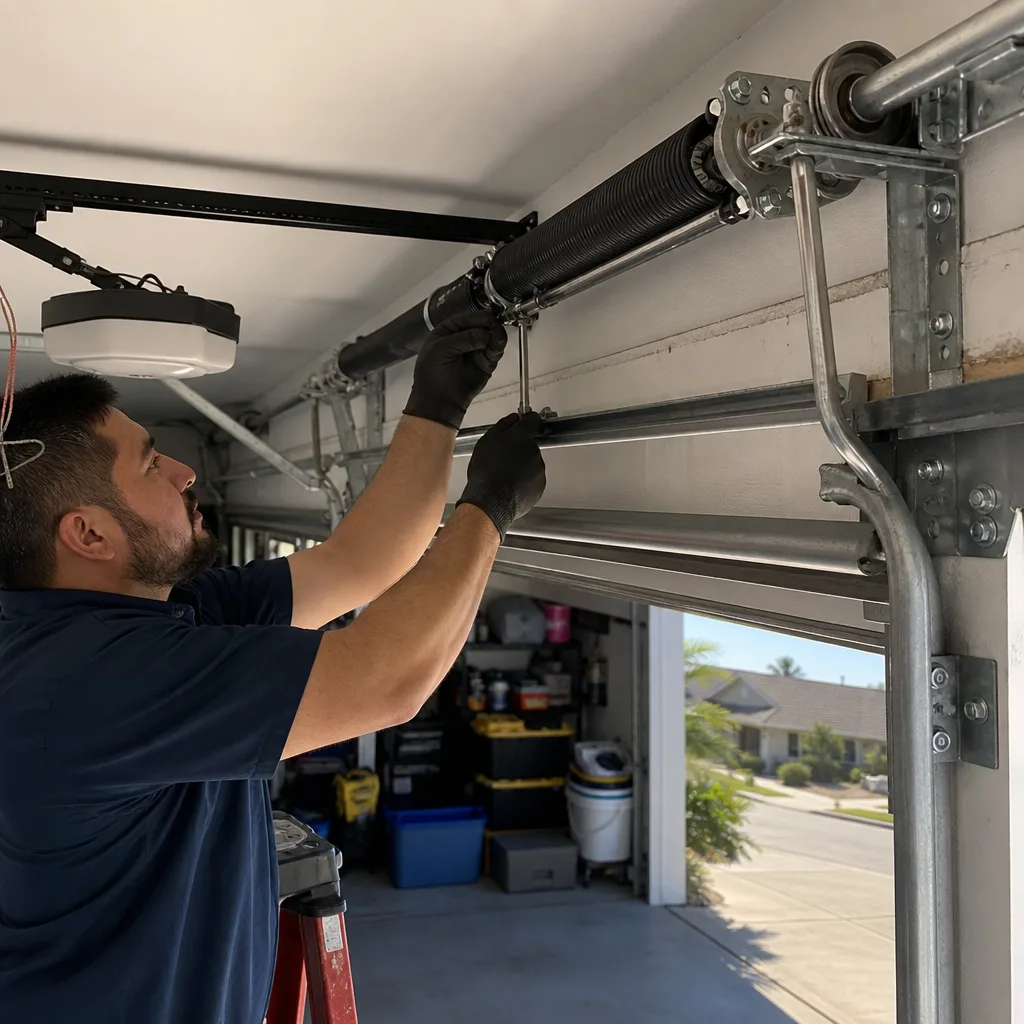
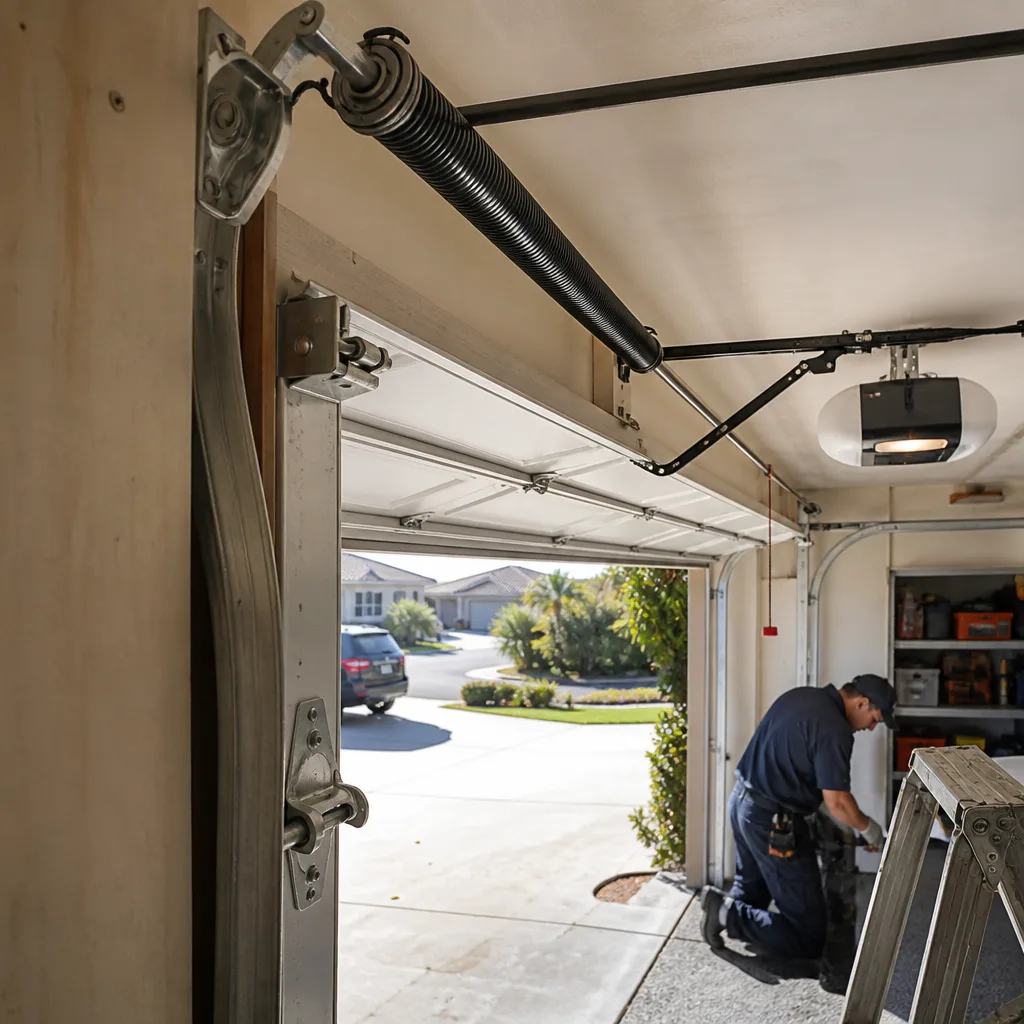
A torsion spring is the heavy steel coil mounted horizontally on a rod above your door opening. When the door is closed, that spring is wound tightly, holding the full weight of the door in check. Replacing it requires winding and unwinding the spring with two steel rods inserted into a winding cone, one quarter turn at a time, while standing on a ladder directly beneath it. Each quarter turn adds roughly 7.5 foot-pounds of torque. A standard residential spring is wound 28 to 32 quarter turns. Do the math: that is over 200 foot-pounds of stored energy waiting for a slip. If the rod kicks out of the cone, it becomes a steel projectile moving at high speed. Emergency room records across the country show wrist fractures, forearm breaks, facial lacerations, and eye injuries from exactly this failure. Skill does not change the physics. Professional spring replacement is not expensive compared to a hospital visit. Our garage door spring repair in San Diego service replaces springs same-day, with a written price given before any work starts.
Cable Drum Replacement
The second professional-only task is the cable drum, the grooved wheel at each end of the torsion rod that the lifting cables wrap around. Homeowners sometimes assume that because a cable looks slack when the door is closed, it is safe to work on. It is not. The cable remains under spring tension even when the door is fully closed, and the drum itself is connected to the spring system. Removing a cable or drum without first fully unwinding the torsion spring is the fastest way to release all of that stored energy at once. The cable can whip violently, and the drum can spin off the rod. Professionals approach this job with the specific tooling and sequence required to control the spring tension throughout the process. There is no safe shortcut.
Tool Cost Reality Check: What DIY Spring Work Actually Requires
You can buy a set of steel winding bars for about $40 at any hardware store. They are just two 18-inch rods, half an inch in diameter, with a flat end. Affordable. Tempting. But here is what the $40 does not buy you: the exact wire size, inside diameter, and length of the spring that matches your door’s specific weight and height. A 16×7 steel door in Carlsbad weighs differently than a 16×7 insulated door in Chula Vista. The wrong spring will either cycle too few times and break early, or lift the door unevenly and wear out the opener motor. Also not included in the $40: a torque wrench calibrated for the set screws, the knowledge of how many quarter turns this specific spring requires, and the experience to recognize when the spring is settling incorrectly during the first test cycle.
The honest comparison looks like this:
- Winding bars: $40
- Correct spring specification lookup: Requires the door manufacturer’s weight chart and spring engineering table
- Wrong spring installed: $80 to $120 wasted, plus a new correct spring at $150 to $280 installed
- Emergency room visit for a hand injury: $3,000 to $20,000 depending on the break
- Professional spring replacement in San Diego: $150 to $280, parts and labor, with a written guarantee
We are not saying the professional route is cheaper because we want the work. We are saying it is cheaper because the downside of the DIY route is a hospital bill and a door that still does not work. Marcus Ellery, the owner of Bramwell Garage Doors San Diego, has said it plainly to homeowners on the phone: the $40 winding bars are the most expensive tool in the garage.
How to Describe a Symptom So You’re Quoted for the Actual Problem
When you call a garage door company and say “my door is broken,” the scheduler has to guess. When you describe the sound and behavior the door made before it stopped working, the technician can identify the probable cause over the phone and arrive with the right parts. This is the difference between a $120 fix on the first visit and a diagnostic visit followed by a second trip.
Here is the language that helps us quote you accurately:
- “It sounds like a gunshot when I try to open it.” That is the torsion spring snapping. Tell us this over the phone and we know exactly what to bring. This is the most common after-hours call we get in San Diego.
- “The door opens halfway, shudders, and stops.” That points to a broken spring on one side, a bent track, or a cable that has jumped off the drum. It is rarely the opener motor.
- “The opener hums but the door doesn’t move.” That is usually the opener’s drive gear stripped, the trolley disconnected, or a broken spring. The hum tells us the motor is alive; the rest narrows it down.
- “The door closes and immediately reverses.” That is the safety sensor system, the limit switch, or an obstruction. It is almost never the spring.
- “There’s a grinding sound when the door moves.” That is a roller wearing out or a hinge seizing. Grinding means metal on metal. Squealing means a part needs lubrication.
- “The door is crooked when it starts to go up.” That is a cable issue, often a frayed cable or a drum that has slipped. Do not run the door again until it is looked at.
The more specific you can be, the less we have to guess. And in our experience, the less we guess, the smaller the invoice. A written price before any work starts is only meaningful if that price is for the right repair.
The Honest Math on DIY Opener Installation
A belt-drive opener kit from a San Diego home improvement store runs about $180 to $260. Professional installation adds $120 to $180 in labor on top of that. So the DIY route saves you, on paper, somewhere around $150. Here is what the instruction manual does not adequately prepare you for.
First, the header bracket. This is the steel plate that bolts to the wall above the door and anchors the opener rail. If it is not installed into solid wood or a properly sized steel bracket spanning the studs, it will work loose within months. The instructions typically say “attach to structural member” and leave it at that. A professional knows to look at what is behind the drywall before driving a lag screw.
Second, travel limit programming. The opener must be programmed to know how far to move the door up and down. Set it wrong and the door slams into the concrete or stops four inches short. Getting this right requires multiple test cycles and fine adjustments. The manual describes the process; it does not explain what a healthy stop sounds like versus a hard stop.
Third, safety sensor alignment. The sensors must be perfectly level with each other, mounted at the correct height, and wired without a short. We routinely get calls in San Diego from homeowners who installed their own opener and cannot figure out why the door will not close. The answer is almost always an alignment issue or a reversed wire. It is fixable, but only after an hour of troubleshooting that the manual did not mention.
None of this is to say you should not install your own opener. Plenty of San Diego homeowners do it successfully. But the honest math is not “$150 saved.” It is “$150 saved, minus your Saturday, minus the frustration of re-reading the troubleshooting section, minus the risk of a door that reverses unpredictably.” If your weekend is worth more than that, professional installation is the better deal. We install all major brands, from Clopay doors to Chamberlain and Genie openers, and every garage door installation in San Diego includes the header assessment, limit programming, and sensor alignment done properly the first time.
How San Diego’s Climate Changes the DIY Equation
San Diego’s climate is forgiving in ways that most of the country envies, and that shapes which DIY tasks are more or less urgent here. For more guides & resources tailored to local conditions, browse our blog. We do not deal with the freeze-thaw cycles that crack weatherstripping in Minneapolis, or the extreme humidity that rusts hardware in Houston. But we have our own physics.
Coastal Salt Air
From Coronado up through Oceanside, the marine layer means salt-laden air. Every exposed steel component (hinges, roller brackets, the torsion spring, the cable drums) corrodes faster here than it does inland. Homeowners within two miles of the coast should expect their springs to last 7 to 10 years instead of 10 to 14. That means spring replacement is not a question of if but when, and when it happens, it is a professional job. You will not fix a corroded spring with a can of lubricant.
Inland Heat and UV
Out in Ramona, Alpine, and El Cajon, the summer sun bakes the exterior of garage doors. The paint fades, the sealant around window inserts cracks, and the rubber weatherstrip degrades faster. A door that faces west and gets full afternoon sun will need weatherstrip replacement every two to three years. That is a DIY job, and one of the best things you can do to keep your garage from turning into an oven in July.
The Microclimate Split
This is a useful distinction for San Diego homeowners: if you live west of Interstate 5, your primary maintenance concern is corrosion. If you live east of Interstate 15, your primary concern is UV degradation and heat. The DIY tasks are the same either way; the frequency changes. A homeowner in La Mesa might lubricate twice a year and be fine. A homeowner in Pacific Beach should do it quarterly. Neither of you needs to touch the springs.
Common Mistakes to Avoid
- Using WD-40 as a lubricant. WD-40 is a penetrating oil and solvent, not a lubricant. It strips the existing grease from rollers and hinges, which accelerates wear. Use a lithium-based spray or silicone lubricant instead. We see this mistake constantly on service calls throughout San Diego.
- Greasing the tracks. The tracks are a guide surface, not a bearing surface. Grease on the tracks attracts dust and turns into a paste that binds the rollers. Clean tracks, lubricated rollers and hinges: that is the correct split.
- Adjusting the limit switch in large turns. The limit switch is sensitive. A half turn is dramatic. A full turn can send the door crashing into the floor. Quarter turns, tested after each adjustment, is the disciplined approach.
- Ignoring a frayed cable. A cable that shows broken strands is a cable about to snap. When it snaps, the door falls unevenly and can bind, bend the track, or drop the full weight onto one side. If you see fraying, stop using the door and call us. This is a professional repair, not a wait-and-see situation.
- Bracing the door with a ladder while working on it. If the spring is broken and you need to release the opener to move the door manually, do not prop it up with whatever is in the garage. A 300-pound door falling off a ladder can crush a foot. Use a proper door brace or have a second person help.
- Buying a universal spring kit online. There is no such thing as a one-size-fits-all torsion spring. Springs are matched to the door’s weight, height, and track configuration. A universal spring is the wrong spring, and the wrong spring breaks early or lifts unevenly.
- Resetting the opener without checking the spring first. When an opener fails, homeowners sometimes replace or reset the opener only to discover the real problem was a broken spring. The opener is designed to lift a balanced door, not a 150-pound dead weight. If the door feels heavy when you pull the release cord, the spring is the issue, not the motor.
When to Call a Professional
Call a professional when the task involves a torsion spring, a cable, or a cable drum. That is the whole rule, and it does not bend. Also call if the door is off its tracks, if the opener makes a grinding sound that lubrication does not fix, or if the door feels unusually heavy when you operate it manually. Heaviness means the spring is failing or already broken, and a broken spring is a same-day professional repair. Bramwell Garage Doors San Diego offers free estimates throughout the San Diego area. Call (619) 374-2463 and a live person answers, 24 hours a day, 7 days a week. We show up in the window we gave you, hand you a written price before any work starts, and leave the garage cleaner than we found it.
Frequently Asked Questions
You can safely lubricate hinges, rollers, and springs; replace the bottom weatherstrip; clean and realign the safety sensors; adjust the opener’s limit switch; clean the tracks; and tighten loose hardware. These six tasks require no special tools and carry no meaningful injury risk. If you do them once or twice a year, you will measurably extend the life of your door. Call us at (619) 374-2463 if any of these tasks reveal a problem, like a bent track or a frayed cable, that needs professional eyes.
A torsion spring under tension stores enough energy to break bones if it releases suddenly. The spring is wound with roughly 100 foot-pounds of torque, and releasing that energy through a slipped winding bar turns the bar into a projectile. Professional spring replacement is $150 to $280 in San Diego, parts and labor included, and comes with a written guarantee. That is the only safe way to do it.
Most San Diego repairs fall between $120 and $350 depending on the parts involved. Torsion spring replacement typically runs $150 to $280. Roller replacement is usually $120 to $180. A new belt-drive opener installed runs $300 to $440 all-in. These are broad ranges; the written price you receive before any work starts is the number on the invoice, no surprises. Call (619) 374-2463 for a free estimate on your specific door.
Yes. We run same-day and emergency routes throughout San Diego every day of the week, including nights, weekends, and holidays. A live person answers the phone 24/7, so you are never leaving a voicemail and hoping for a callback. We will give you a real arrival window and meet it. Call (619) 374-2463 and tell us what the door is doing; we will bring the right parts the first time.
No. You receive a written price before any work starts, and that written price is the price you pay when the job is done, unless you approve additional work in writing first. This is the Kingswell standard, and every Bramwell location operates under it. If the door needs more than the original quote described, we will show you, explain it in plain language, and get your written approval before any additional work begins. The number you agree to is the number on the invoice. Call (619) 374-2463 and put it to the test.
In most cases, yes. We stock torsion springs in a range of common sizes, rollers, hinges, cables, drums, weatherstripping, and opener gears on every truck. When you describe the symptom accurately on the phone, our technician arrives with what the job needs. For less common parts or custom door hardware, we will order it and complete the repair on a second visit, and we will tell you that before we ever roll a truck. Call (619) 374-2463 and describe what you are hearing; that is the fastest way to get it fixed in one trip.
The Bottom Line
You can handle the maintenance. You cannot handle the springs. That is the honest divide, and it holds for every homeowner in San Diego, from the handiest engineer in Scripps Ranch to the first-time buyer in Normal Heights. Lubricate quarterly, replace your weatherstrip when the sun eats it, keep the sensors clean, and your door will run smoothly for years. When the spring snaps or a cable frays, the math favors the professional every time. A spring replacement costs less than a trip to urgent care. Bramwell Garage Doors San Diego, a Kingswell company serving San Diego since 2001, answers the phone around the clock. Call (619) 374-2463 for a free estimate. The price we quote is the price you pay, and it is in writing before we touch the door.
Written by Marcus Ellery, Owner at Bramwell Garage Doors San Diego, serving San Diego since 2001.
See the difference
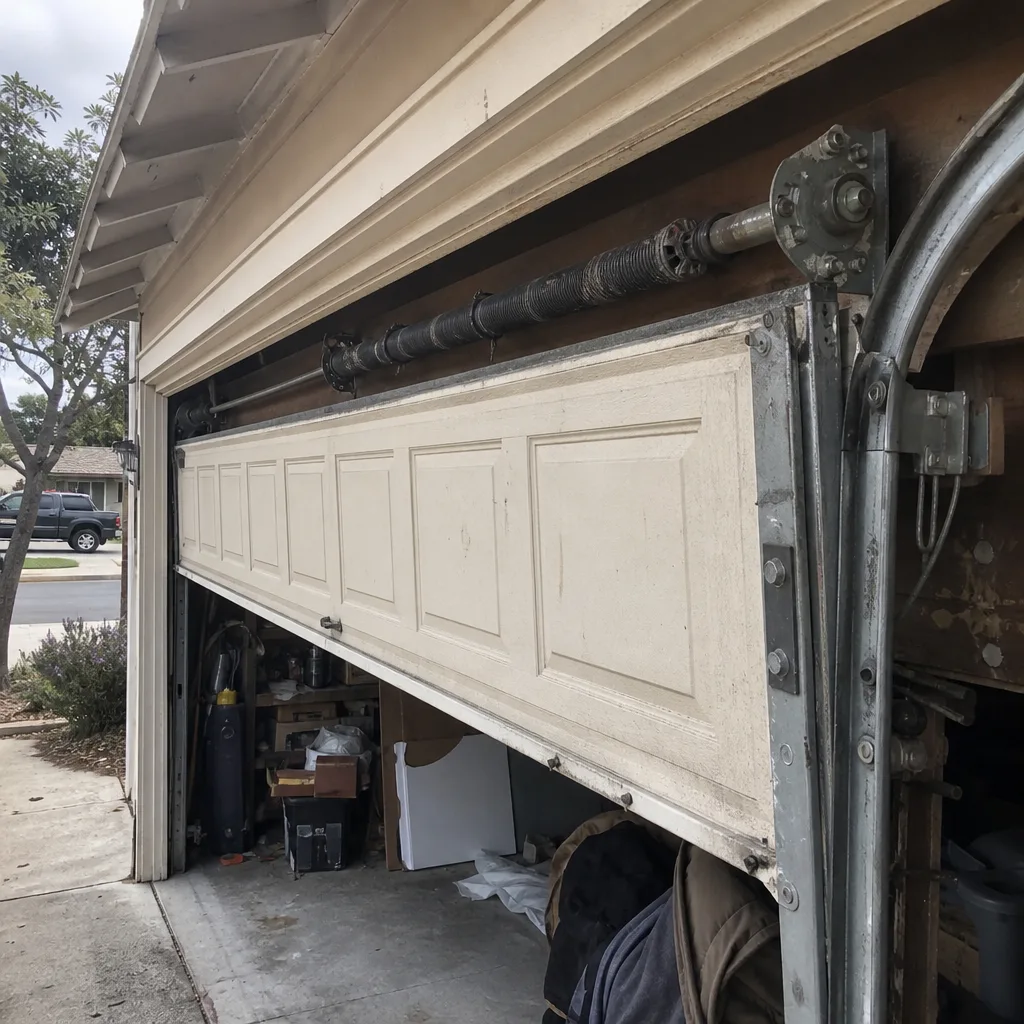 Before
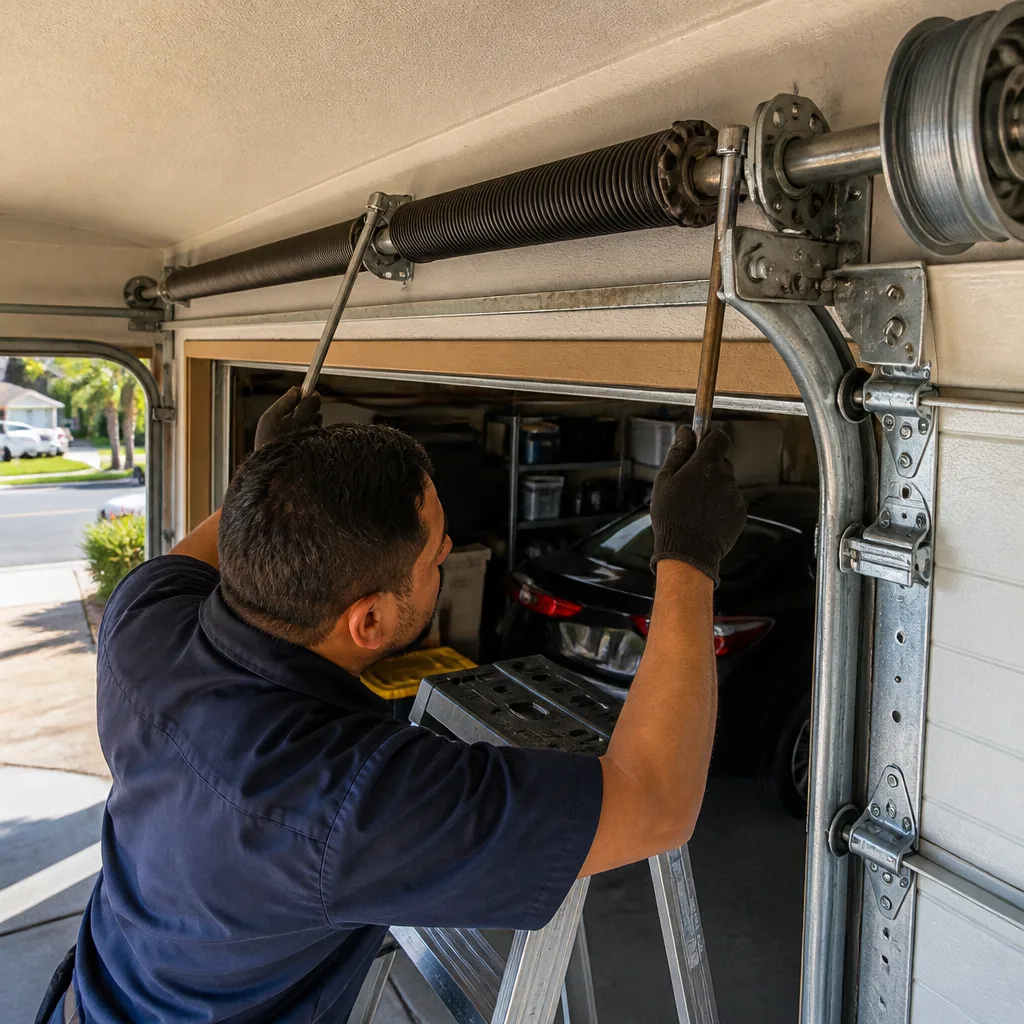 After
After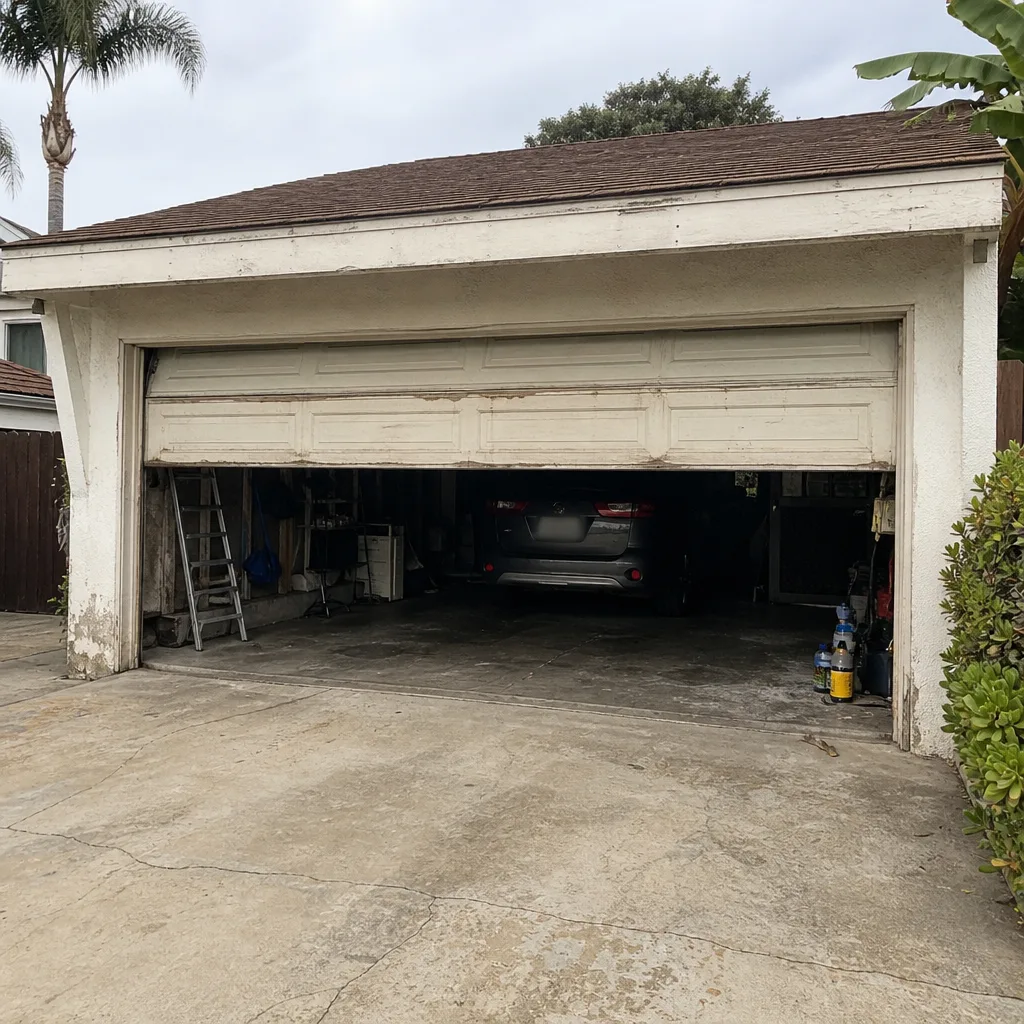 Before
 After
After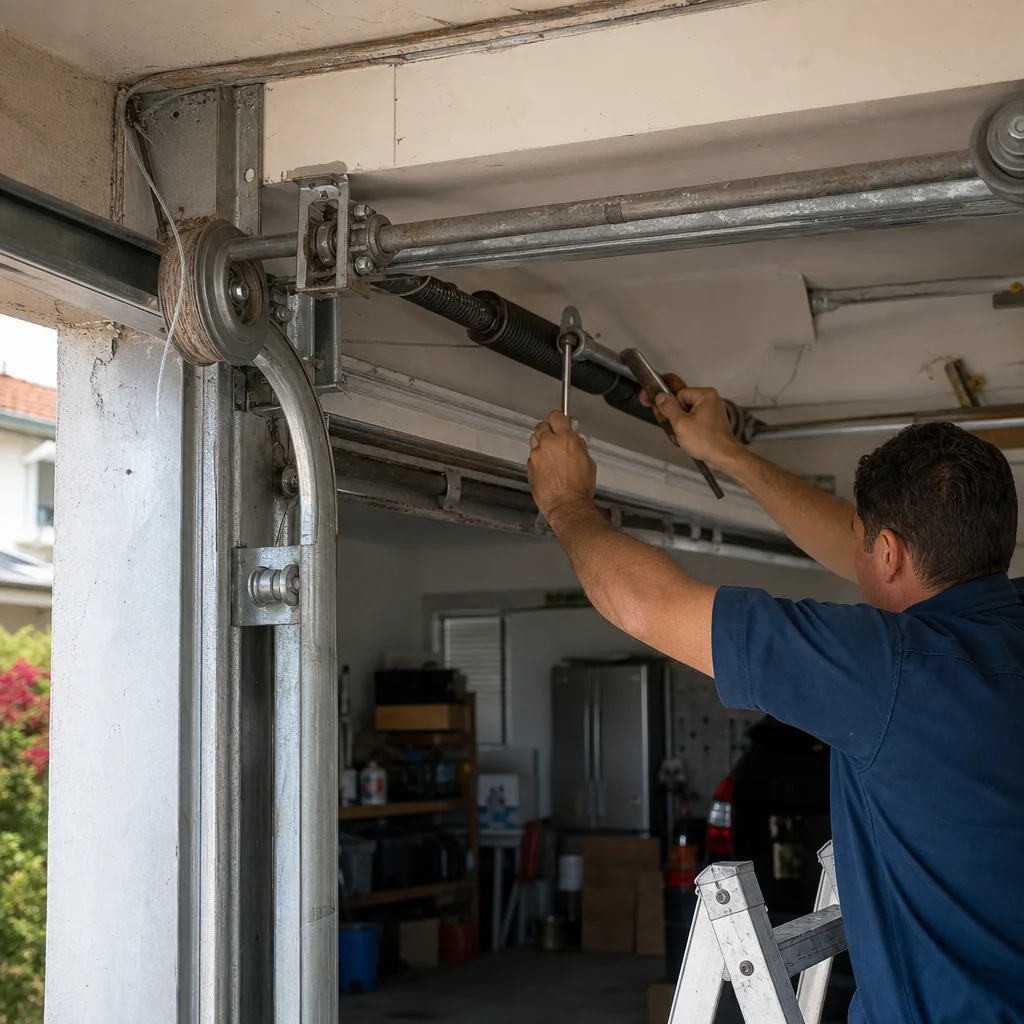 Before
 After
After